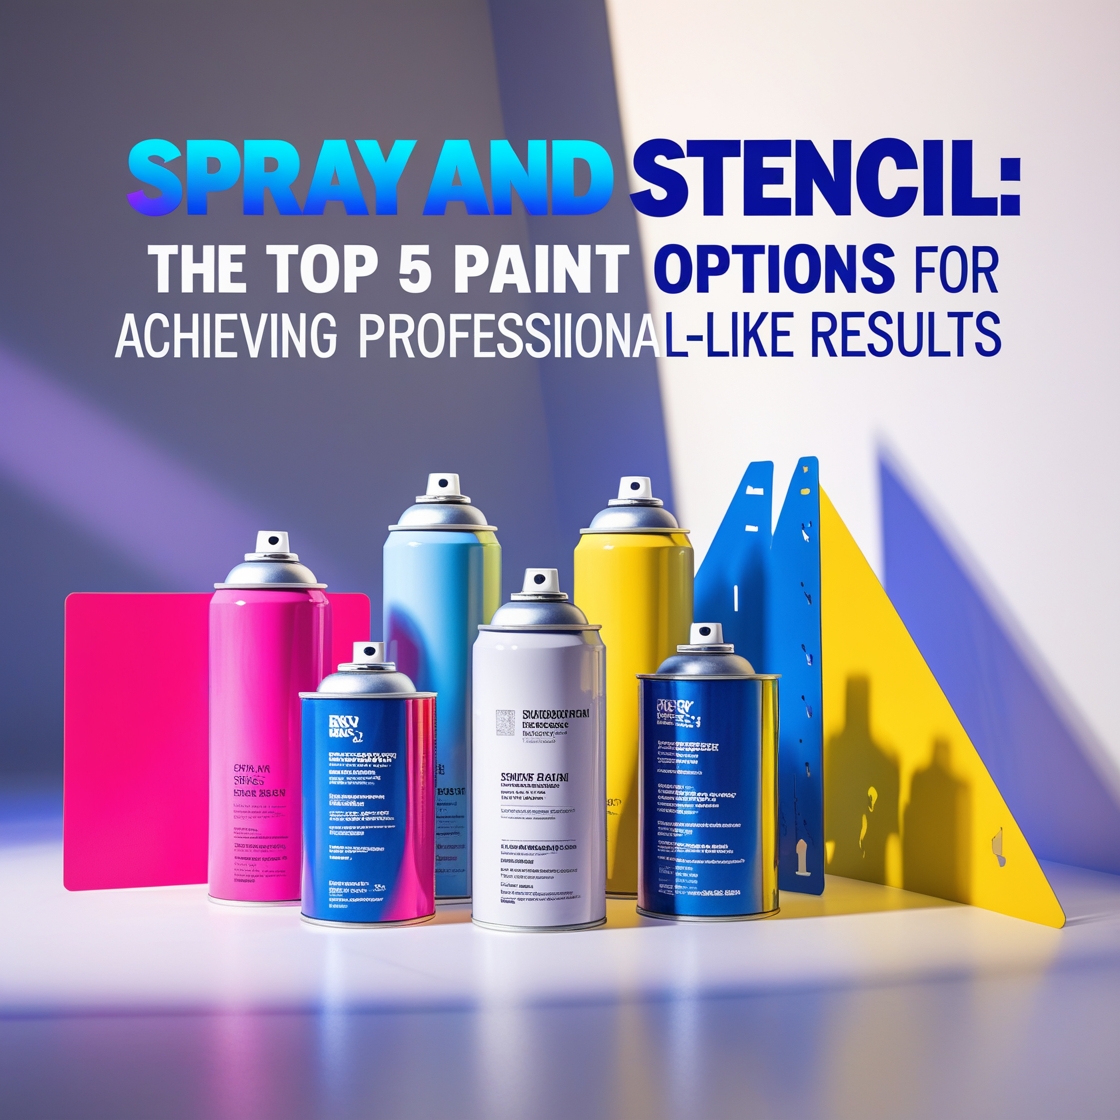
As a homeowner, you understand the importance of having a professional-looking paint job on your walls. Whether you’re planning to sell your house, renovate your home, or simply give it a fresh new look, a well-executed painting project can make a significant difference. With so many paint options available on the market, choosing the right one can be overwhelming. In this article, we’ll explore the top 5 paint options for achieving professional-like results, helping you make an informed decision for your next painting project.
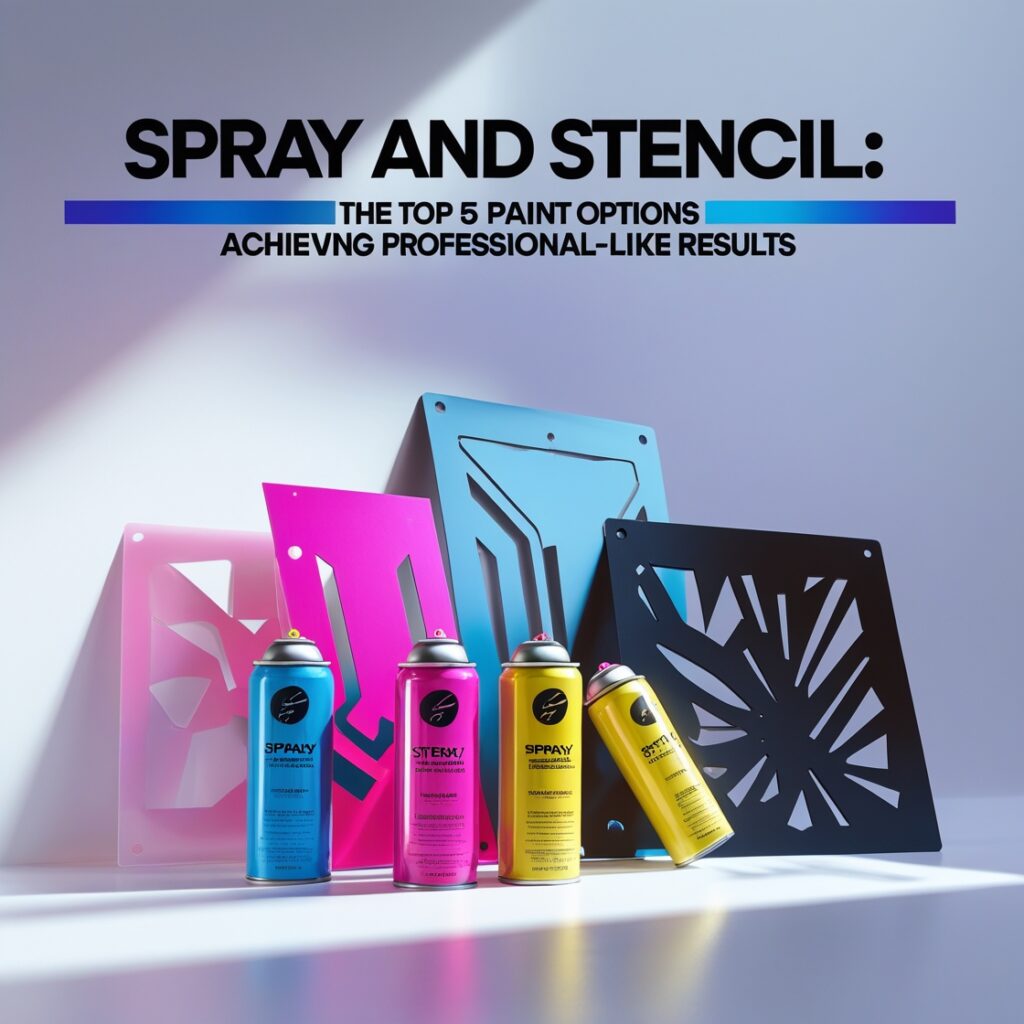
Exploring Spray and Stencil Techniques for Effortless Creativity
Creativity can often feel out of reach, especially if you’re not a seasoned artist. However, spray and stencil techniques have transformed the way you can express yourself through art and design. These methods allow you to achieve stunning results with minimal effort, making them perfect for anyone looking to invigorate their creative process.
Using spray paint alongside stencils offers a straightforward way to add color and dimension to your projects. You can create beautiful patterns and vibrant images with just a few simple steps. If you’re ready to dive into the world of spray and stencil art, here are some essential techniques and tips to get you started.
Understanding Spray Paint Basics
When selecting spray paint, consider the color, finish, and type. Certain spray paints work better for indoor use, while others are suited for outdoor projects. Always remember to read the label and consider the following:
- Type: Choose between acrylic, enamel, and oil-based sprays based on your project needs.
- Finish: Select matte, glossy, or satin finishes to suit your style.
- Color: Opt for high-quality paints for better pigmentation and coverage.
Choosing the Right Stencil
The choice of stencil can dramatically impact your final artwork. There are countless designs to choose from, ranging from geometric shapes to intricate florals. To enhance your results, consider the following:
- Material: Use stencils made from durable plastic or mylar for easy cleaning and reuse.
- Design: Opt for designs that align with your project’s theme and your style
- Size: Choose stencil sizes appropriate for your canvas or surface.
Preparing Your Workspace
Your workspace plays a crucial role in your success. Follow these tips to set up the perfect environment:
- Ventilation: Always work in a well-ventilated area to avoid inhaling fumes.
- Protective Gear: Wear a mask and gloves for safety.
- Cover Surfaces: Use drop cloths to protect your work surfaces from overspray.
Technique Tips for Skillful Application
Once your workspace is ready, it’s time to unleash your creativity. Here are some expert tips for using spray and stencil techniques effectively:
- Distance Matters: Maintain a distance of about 10-12 inches between the spray can and your surface to achieve an even coat.
- Multiple Light Coats: Apply multiple light coats instead of a heavy single coat to prevent drips and unevenness.
- Test Run: Always do a test spray on cardboard to ensure the color and nozzle settings are as desired.
Layering Techniques for Dimension
Layering adds depth and complexity to your projects. To achieve impressive results, consider the following steps:
- Start with a base color, ensuring it dries completely.
- Apply your chosen stencil, then spray your secondary color over it.
- After removing the stencil, utilize a brush to add details or blending effects if necessary.
Cleanup and Maintenance
No one enjoys cleaning, but it is necessary for maintaining quality in spray and stencil projects. After finishing your artwork, make sure to:
- Clean Stencils: Rinse stencils immediately to remove paint, preventing future clogs.
- Store Properly: Keep your spray cans in a cool, dry place to preserve their effectiveness.
- Dispose Responsibly: Follow local regulations for disposing of spray paint canisters.
Spray and stencil techniques open the door to endless creative possibilities. By understanding the products, preparing effectively, and using a few simple techniques, you can elevate your artwork to professional-like results. The beauty of these methods lies in their accessibility; whether you’re a beginner or an experienced artist, you’ll find joy in the transformational power of spray and stencil art.
Evaluating the Differences Between Spray Paint Types
When it comes to crafting projects or home improvements, choosing the right spray paint type is crucial for achieving the desired finish. Whether you are aiming for a smooth coat, a textured finish, or a quick touch-up, understanding the differences between spray paint types can significantly enhance your results. Below, we’ll explore various spray paint options, helping you make an informed choice for your next project.
Acrylic Spray Paint
Acrylic spray paint is highly versatile and popular among DIY enthusiasts. It dries quickly and is known for producing a smooth, glossy finish. This type of spray paint is water-based, making it more environmentally friendly and easier to clean up. However, keep in mind that acrylic spray paint may require a sealer for outdoor use to protect it from the elements. It’s suitable for a variety of surfaces, including wood, metal, and ceramics.
Oil-Based Spray Paint
For projects requiring durability, consider oil-based spray paint. This type adheres well to surfaces and is less susceptible to fading over time. Oil-based spray paints are ideal for outdoor furniture, metal objects, and high-traffic areas, as they provide a hard, long-lasting finish. However, they generally have a longer drying time and emit stronger fumes, so working in a well-ventilated space is essential.
Enamel Spray Paint
Enamel spray paint offers a tough and glossy finish, making it an excellent choice for hard surfaces. Ideal for items that need to withstand wear and tear, enamel paint can be used on a wide range of materials, such as wood, metal, and plastics. While it offers great protection, it takes longer to dry compared to other paint types, and you might need several coats for complete coverage.
Primers
Using a primer spray paint can significantly improve the adherence of your final coat. Primers are particularly useful for surfaces that are glossy or slick, providing a textured base for other paints to bond with. They can penetrate the surface and hide blemishes, making the final colors more vibrant and even. Most primers come in various finishes, such as matte or gloss, allowing for flexibility in your project.
Textured Spray Paint
If you’re looking to add depth and interest to your projects, textured spray paint is the answer. This type of spray paint creates a three-dimensional effect, perfect for surfaces that could use a bit of flair. Textured spray paints come in various finishes, including stone, metallic, and plaster-like textures. They are commonly used on walls, crafts, and furniture to give a unique look.
Choosing the Right Spray Paint for Your Project
Now that you know the different types of spray paints available, it’s essential to choose the one that best suits your needs:
- Acrylic Spray Paint: Fast-drying and versatile, perfect for crafts and indoor projects.
- Oil-Based Spray Paint: Durable and weather-resistant, ideal for outdoor items.
- Enamel Spray Paint: Tough and glossy, excellent for high-use surfaces that need long-lasting finishes.
- Primers: Essential for promoting adhesion on slick surfaces.
- Textured Spray Paint: Adds flair and dimension, great for decorative projects.
Understanding the differences between these spray paint types can lead to professional-looking results in your projects. Always consider the specific needs of what you’re painting, as well as the conditions it will be exposed to over time. With the right choice, you can transform ordinary objects into eye-catching pieces that you’ll enjoy for years to come.
Remember, preparation is just as important as the paint itself. Always read the instructions on the spray paint can and follow safety guidelines to ensure the best experience. Make sure to wear a mask and eye protection, especially when working with oil-based or textured paints. With these insights, you are ready to tackle your next painting project with confidence!
Comparative Chart of Top Paint Options
| Paint Type | Lifespan | Durability | VOC Content | Ideal For | Average Price |
|---|---|---|---|---|---|
| Acrylic | 10 years | Moderate | Low | Indoor projects | $25/gallon |
| Latex | 15 years | High | Low | Bathrooms, kitchens | $30/gallon |
| Oil-Based | 20 years | Very High | High | Wood and metal surfaces | $35/gallon |
| Water-Based Enamel | 15 years | High | Low | High-traffic areas | $32/gallon |
| Chalk | Varies | Moderate (needs topcoat) | Low | Furniture, decor | $28/gallon |
Preparing Your Surface: Essential Steps Before Painting
Whether you’re sprucing up a room or tackling an outdoor project, preparing your surface before painting is crucial. This process ensures your finished work adheres properly and looks professionally done. Before you get started with your paintbrush or roller, follow these essential steps for surface preparation.
Assessing the Surface
The first step you should take is to assess the surface you’re going to paint. Check for imperfections, such as cracks, holes, or rough spots. Pay attention to:
- Wall Condition: Look for peeling paint or moisture damage.
- Type of Surface: Different materials like wood, metal, drywall, or plaster may require specific treatments.
- Previous Paint: Determine if the surface is already painted and if that paint is in good condition.
Cleaning the Surface
Once you’ve assessed the surface, the next step is thoroughly cleaning it. Dust, grease, and dirt can interfere with paint adhesion, leading to a subpar finish. Here’s how to clean effectively:
- Dusting: Use a microfiber cloth or a duster to remove dust from the surface.
- Washing: For stubborn stains, a mixture of warm water and mild soap can be effective. Apply it using a sponge and rinse thoroughly with clean water.
- Degreasing: If you’re painting in a kitchen or workspace, use a degreaser to remove any greasy substances.
Repairing Imperfections
Once the surface is clean, you can focus on repairing any imperfections. This step is vital to ensure a smooth finish that looks polished. Here is what to do:
- Fill Holes and Cracks: Use spackling paste or a filler that matches the surface material. Apply it, allow it to dry, and then sand it smooth.
- Sanding: Lightly sand the whole surface to create a texture that helps paint adhere better. Use medium-grit sandpaper for best results.
- Priming: For significant repairs or when painting over bare surfaces, apply a primer that fits the paint type you will use. Primer also helps in blocking stains and promoting adhesion.
Protecting Surrounding Areas
Don’t forget to protect areas that you don’t want to paint. This helps avoid accidental splatters or brush strokes. Follow these tips:
- Tape Edges: Use painter’s tape along edges like baseboards, trims, and windows to achieve clean lines.
- Drop Cloths: Lay down drop cloths or newspapers to catch spills and protect flooring or furniture.
- Remove Fixtures: If possible, remove light switch covers, outlet covers, and other fixtures for a seamless finish.
Environmental Considerations
Before diving into painting, consider the environmental factors. Temperature and humidity can affect how well paint adheres and dries. The ideal painting conditions are:
- Temperature: Between 50°F and 85°F (10°C to 29°C).
- Humidity: Ideally below 70% to prevent the paint from taking too long to dry.
Gather Your Supplies
To ensure a smooth painting process, gather all your necessary supplies beforehand. A checklist may look like this:
- Painter’s tape
- Drop cloths
- Sandpaper
- Spackling paste or filler
- Primer
- Paint and brushes/rollers
Preparing your surface before painting might seem tedious, but it’s essential for achieving a professional look. Taking your time in cleaning, repairing, and protecting areas promises you a finish that not only looks good but endures over time. When you invest effort in surface preparation, you invest in the longevity and appearance of your paint job.
Tips for Achieving Crisp Stencil Lines Without Bleeding
If you’re venturing into the world of stenciling, achieving crisp and clean lines is crucial for a professional appearance. Whether you’re decorating walls, furniture, or other crafts, following specific tips will help you avoid the frustration of paint bleeding under your stencil. Here’s how you can ensure precision in your stenciling projects.
Choose the Right Stencil Material
Stencils come in various materials, and selecting the right one can make a significant difference. Here’s a quick guide:
- Mylar Stencils: Durable and reusable, these stencils provide solid structure, minimizing the chances of paint bleeding.
- Cardstock Stencils: Ideal for one-time use, but they can warp easily; ensure they are flat against the surface.
- Wooden Stencils: These are sturdy and can provide very crisp lines, though they can be bulkier than other options.
Prepping Your Surface
Before you even get to the fun part of painting, preparation is key. A clean and smooth surface ensures that your stencil adheres well and prevents any seepage. Here’s how to prep your surface:
- Clean the area to remove any dust, grease, or old paint.
- Make sure the surface is dry before applying the stencil.
- If you’re working on a textured surface, consider sanding it down first for a smoother application.
Correct Adhesive for Your Stencil
Using the right type of adhesive can radically reduce paint bleed. Here are some excellent options:
- Temporary Spray Adhesive: Spraying a light layer on the back of the stencil keeps it stuck to the surface without damaging it.
- Stencil Tape: Specialized tape designed for stencils that won’t pull up the paint when removed; it’s great for detailed work.
- Low-Tack Painter’s Tape: This is a good alternative if you need something more accessible. It holds well and can be removed easily.
Using the Right Paint
Your paint choice plays a crucial role in achieving those sharp lines. Here are recommendations for selecting the best paint:
- Craft Paint: Often less likely to bleed and comes in a wide range of colors; it’s also easy to control.
- Acrylic Paint: Water-based and easy to clean up, but ensure to use a thicker consistency to avoid bleeding.
- Spray Paint: Use with caution and maintain a consistent distance from the stencil for even coverage; multiple light coats are better than one heavy one.
Application Techniques
How you apply the paint can be the make-or-break moment for crisp lines. Follow these techniques for best results:
- Use a brush or sponge to apply paint, but don’t overload it. Too much paint on your tool can inadvertently seep under the stencil.
- For spray paint, maintain a distance of about 12 to 18 inches and keep the can moving to avoid pools of paint.
- Apply light layers of paint instead of one thick coat. This helps reduce bleeding and ensures even coverage.
Timing is Everything
Be patient and let each layer dry completely before removing the stencil. Here’s what you should consider:
- Follow the drying time recommended on your paint label; this varies from product to product.
- For water-based paints, a quick touch might feel dry, but it’s often best to wait at least 30 minutes before taking off the stencil.
- If you’re using a thicker paint, consider drying for longer, to guarantee no smudging occurs.
Achieving crisp stencil lines doesn’t have to be a headache. By following these tips—choosing the right materials, prepping your surface, using the right adhesive, selecting suitable paint, applying it correctly, and timing your work—you can elevate your stenciling projects to look more professional and polished. So grab your stencils and get creative—clean and precise designs await!
Creative Projects to Inspire Your Next Spray and Stencil Artwork
Are you ready to dive into the world of spray and stencil art? This vibrant technique opens doors to immense creativity, allowing you to transform everyday objects into stunning visual statements. With the right ideas, your next project could inspire your artistic journey while showcasing your unique style. Here are some imaginative projects to ignite your passion for spray and stencil artwork.
1. Personalized Wall Art
Create custom wall decor that reflects your personality and interests. Choose a large canvas or a piece of wood, then use stencils to outline your favorite quotes or images. Once your design is ready, grab your spray paint and bring it to life. Opt for contrasting colors to make your artwork pop. Consider the following theme ideas:
- Quotes that motivate you
- Your favorite nature scenes
- Geometric patterns for a modern touch
2. Decorative Furniture
Revamp an old piece of furniture by adding spray and stencil designs. For instance, an old table can become a trendy centerpiece in your living room. Start by prepping the surface through sanding and priming. Then, select stencils that complement your decor style. Use a combination of spray paint colors to create a unique, visually appealing piece. Ideas include:
- Chic floral patterns on tabletops
- Abstract designs on chair backs
- Colorful stripes for drawer fronts
3. Customized Clothing & Accessories
Take your fashion game up a notch with bespoke clothing and accessories. You can easily transform plain t-shirts, bags, or hats by applying spray and stencil art. Choose a design that resonates with you, such as:
- Bold symbols or logos
- Unique patterns and textures
- Inspirational phrases for a personal touch
Remember to use fabric spray paint to ensure your designs last through multiple washes. This customization reflects your personality and sets you apart from the crowd!
4. Stunning Home Décor Accents
Elevate your home aesthetic by crafting decorative accents with spray and stencil techniques. Items like vases, candle holders, and picture frames can easily be transformed into art pieces. Consider using stencils to create patterns such as:
- Tree branches for a natural look
- Herringbone patterns for texture
- Color gradients for a modern flair
Spray painting these items can refresh your home’s appearance and complement your existing decor. Plus, they make wonderful conversation starters!
5. Themed Party Decorations
If you’re planning a themed party or event, let spray and stencil art add flair to your decorations. From banners to table centerpieces, the possibilities are endless. Create stencils that reflect the event theme, such as:
- Star shapes for a celestial theme
- Floral patterns for a garden party
- Festive designs for birthdays or holidays
Have fun with colors, textures, and arrangements to create an inviting atmosphere that your guests will love. Plus, crafting these decorations provides a great opportunity for family and friends to work together!
As you explore these creative projects, remember that the beauty of spray and stencil art lies in its versatility. You can work on various materials like canvas, wood, glass, or fabric. Let your imagination soar and use these ideas as a springboard to create your unique masterpieces. With practice, you’re sure to achieve stunning results that will impress everyone who sees your work!
So grab your spray paint and stencils, and get inspired to create. The world of spray and stencil art is waiting for you to make your mark!
Conclusion
Whether you are a beginner or a seasoned artist, embracing spray and stencil techniques can elevate your creative projects to new heights. By exploring these methods, you unlock endless possibilities for unique designs and personal expression. Understanding the various spray paint types is essential for selecting the right product for your project, ensuring the finish is just as you envision.
Before diving into painting, taking the time to properly prepare your surface cannot be overstated. A clean, primed base can make all the difference in achieving that professional look. Equally important are the tips for getting crisp stencil lines—these small details can transform your artwork and prevent unsightly bleeding.
As you consider your next project, let your imagination guide you. There are countless inspirations available, from custom home decor to vibrant wall murals. Each project presents an opportunity to hone your skills and explore creativity, allowing your unique style to shine through. So gather your materials, unleash your imagination, and enjoy the process of creating with spray and stencils. Remember, every artistic journey is about experimenting and making it your own. Happy painting!