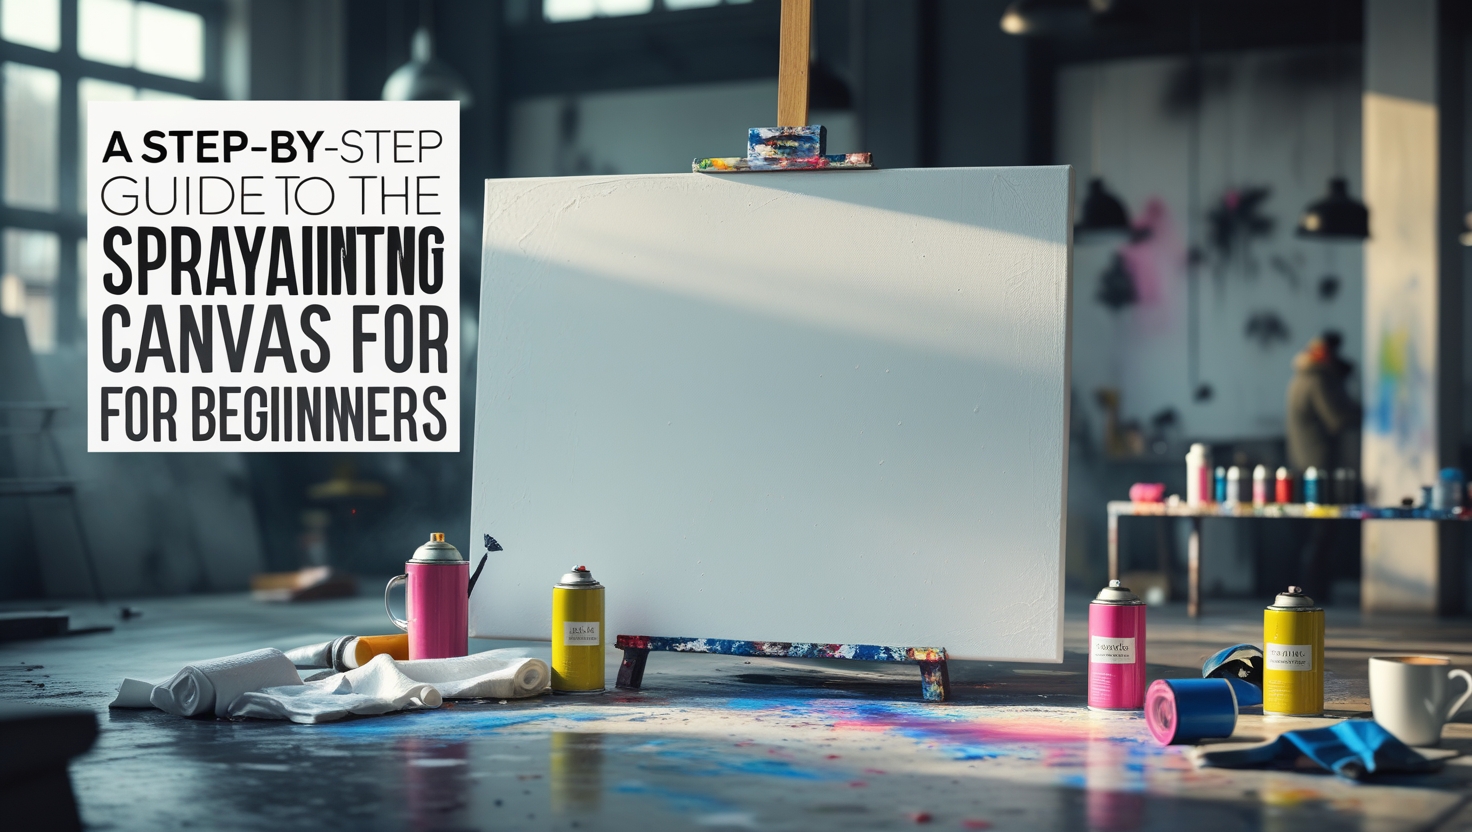
Spray painting on canvas is an exciting and versatile technique that allows artists to explore the dynamic world of street art while adding personal creative touches to any project. Whether you’re a beginner or an experienced artist, spray painting offers the freedom to experiment with textures, colors, and effects in ways that traditional painting can’t. This guide will walk you through the essentials—from gathering the right materials to perfecting spray techniques—ensuring you’re ready to create stunning canvas art. Get ready to discover how to unlock your creative potential with spray paint!
Why Spray Paint on Canvas?
Spray painting on canvas brings together the precision of traditional painting and the expressive freedom of street art. The combination of aerosol paints and canvas creates a textured, layered look that’s difficult to achieve with other tools. Plus, it’s a great way to experiment with bold colors, textures, and techniques without the rigidity of a brush or pen.
Whether you’re aiming to decorate your living space, create a statement piece, or explore your artistic style, spray painting on canvas is an accessible and exciting medium for beginners.
Getting Started: Materials You’ll Need
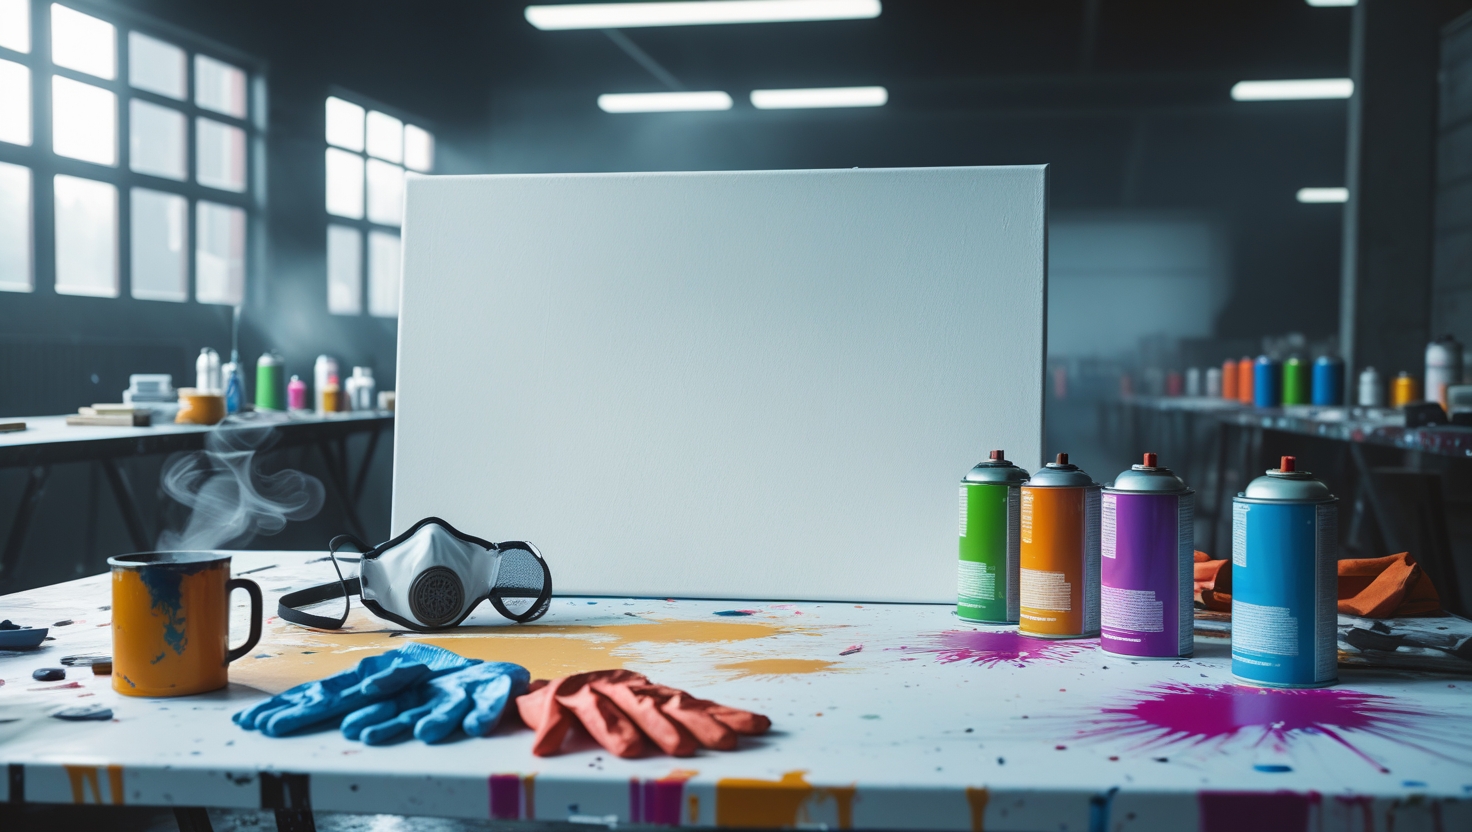
Before you dive in, gather the right materials to set yourself up for success. Here’s what you’ll need:
1. Canvas
- Type: Stretched canvas or canvas boards.
- Size: Start with smaller sizes (e.g., 16×20 inches) for practice, and scale up as you gain confidence.
2. Spray Paints
- Types: Acrylic-based spray paints are ideal for canvas as they’re fast-drying and vibrant.
- Colors: A mix of primary colors, neutrals, and metallics gives you versatility.
- Brands: Look for artist-grade brands like Montana Gold, Rust-Oleum, or Krylon.
3. Protective Gear
- Gloves: Disposable nitrile gloves to keep your hands clean.
- Mask: A respirator or mask rated for paint fumes to protect your lungs.
- Clothing: Wear old clothes or an apron to avoid stains.
4. Tools for Effects
- Stencils for sharp, consistent shapes.
- Painter’s tape for clean lines.
- Sponges, toothbrushes, or palette knives for texture.
- A lazy Susan or turntable for rotating the canvas.
5. Work Area Setup
- Location: Choose a well-ventilated space, like a garage or outdoor area.
- Drop Cloth: Protect floors and surfaces with plastic sheets or drop cloths.
- Easel: An easel or flat surface for holding your canvas.
Step-by-Step Guide to Spray Painting on Canvas
Step 1: Prepare Your Work Area
Set up your workspace to ensure safety and convenience. Lay down your drop cloth, position your canvas on an easel or flat surface, and keep all materials within easy reach. Ensure good ventilation—paint fumes can accumulate quickly, so work outdoors or use a fan to direct fumes away from you.
Step 2: Prime the Canvas
Priming ensures the spray paint adheres properly and prevents uneven absorption.
- Use a gesso primer and apply one to two thin coats with a brush or roller.
- Let the primer dry completely before proceeding.
Step 3: Plan Your Design
While spontaneity is part of spray painting’s charm, having a loose plan can prevent frustration. Sketch your idea on paper or use chalk to outline it lightly on the canvas. Decide on your color palette and any specific effects you want to achieve.
Step 4: Base Coat
Start with a base coat to create a background for your design.
- Hold the spray can 8-12 inches away from the canvas for even coverage.
- Use sweeping motions and overlap each pass slightly to avoid streaks.
- Let the base coat dry for at least 20 minutes before layering.
Step 5: Layer Colors and Build Depth
Layering adds complexity and richness to your artwork. Experiment with techniques like:
- Fading: Gradually transition between colors by spraying lightly where they meet.
- Blending: Spray one color over another while the paint is still wet.
- Masking: Use painter’s tape or stencils to block off areas for clean shapes.
Step 6: Add Texture and Details
Here’s where your creativity can shine! Use the following tools and techniques:
- Sponges: Dab the paint for a mottled, textured effect.
- Splatter: Flick paint onto the canvas using a toothbrush or by partially pressing the spray nozzle.
- Stencils: Place stencils on the canvas and spray lightly for precise shapes.
- Dripping: Hold the canvas vertically and let paint drip for a dynamic look.
Step 7: Finishing Touches
Once your design is complete, step back and assess it. Add final highlights or shadows to enhance depth and dimension. Metallic or fluorescent spray paints can add eye-catching details.
Step 8: Seal Your Work
Protect your masterpiece by sealing it with a clear coat.
- Use a spray varnish specifically designed for acrylic paint.
- Apply 2-3 thin layers, allowing each to dry before adding the next.
- The sealer enhances durability and gives your piece a polished finish.
Top Tips for Beginners
- Practice on Scrap Materials: Before working on canvas, test your spray paint techniques on cardboard or wood.
- Control Your Nozzle: Adjust the pressure you apply to the spray nozzle to control paint flow. Partial presses can create softer effects.
- Mind the Weather: If working outdoors, avoid windy conditions that can blow paint off-target.
- Be Patient: Allow layers to dry before adding more to prevent muddy colors or smudges.
- Experiment Freely: Mistakes can often lead to unexpected and beautiful outcomes. Embrace the process!
Common Challenges and How to Overcome Them
1. Uneven Coverage
- Solution: Maintain a consistent distance from the canvas and use overlapping strokes.
2. Drips and Runs
- Solution: Apply thin layers and let each dry before adding more. If drips occur, incorporate them into your design or wipe them off quickly.
3. Overspray
- Solution: Use masking tape, stencils, or shields to contain the paint.
Advanced Spray Painting Techniques (Optional)
Once you’ve mastered the basics, you may want to experiment with more advanced techniques to take your artwork to the next level. These methods can add depth, dimension, and more complex designs to your canvas.
1. Gradient Techniques (Ombre Effect)
Creating smooth transitions between colors (also known as ombre or gradient) is a fantastic way to add depth to your art. Here’s how to achieve it:
- Start with a light base coat: This helps the colors blend smoothly.
- Spray the first color on one side of the canvas and gradually add the second color while the paint is still wet.
- Use a blending tool like a sponge or a soft brush to help mix the colors at their meeting point. The goal is a gradual transition, so adjust the nozzle for a lighter, more diffused spray when blending.
2. Stencil and Masking Techniques
For more intricate and precise designs, stencils and masking are invaluable. These techniques allow you to control where the paint goes and create sharp lines or patterns.
- Stencil Art: Use pre-made or custom stencils to mask areas of the canvas while spraying. This ensures crisp, defined shapes that stand out against the background. Remember to hold the stencil in place firmly to avoid smudging.
- Masking Tape Designs: You can use painter’s tape to mask off sections of the canvas, creating clean, geometric shapes or lines. This is perfect for creating modern, abstract art.
3. Layering with Different Mediums
Once you’re comfortable with spray paint, you can experiment with mixed media to add complexity to your work:
- Add Acrylic Paint: After your spray paint layers have dried, use traditional acrylic paint for finer details or highlights. The combination of spray paint and brushwork can create visually striking contrasts.
- Ink and Markers: For even more detail, you can use permanent markers or ink pens over the dried spray paint to draw intricate patterns or add accent lines to your design.
4. Creating Texture with Tools
In addition to sponges and brushes, various tools can help you achieve texture in your artwork:
- Palette Knives: Scrape away some layers of paint to expose the base coat or create rough textures on the surface of your canvas.
- Toothbrush Flicking: Create fine splatters or “star” effects by flicking a toothbrush with paint over your canvas. This can be great for adding a speckled, textured look or even creating galaxy effects.
5. Using Metallics and Fluorescents
If you want your artwork to pop, try adding metallic or fluorescent spray paints. These types of spray paints reflect light differently, adding dynamic effects to your piece.
- Metallic Finishes: Use gold, silver, or bronze spray paint to add richness and sophistication to your design.
- Fluorescent Colors: Perfect for creating vibrant, glowing effects under UV light, these paints are ideal for abstract or modern art.
Conclusion
Whether you’re just starting with spray painting or looking to refine your techniques, these advanced methods will help you push your creativity to new heights. Experiment, embrace the unexpected, and see how these techniques can transform your canvas into a true work of art!
Inspirational Spray Painting Techniques to Try
Once you’ve mastered the basics, experiment with these techniques to elevate your art:
Galaxy Art
Create cosmic masterpieces with sprays of black, blue, and purple. Add stars by flicking white paint with a toothbrush and use stencils for planets.
Abstract Splatter Art
Channel your inner Jackson Pollock with chaotic yet intentional splashes of color. Layer splatters for depth.
Stencil Art
Use stencils to combine spray painting with graphic design. Create bold, repeatable patterns or images.
Graffiti Lettering
Practice graffiti-style typography for a modern, urban aesthetic.
Showcasing Your Spray Paint Art
Once your canvas is complete, find creative ways to display your work:
- Gallery Wall: Arrange multiple pieces for a cohesive art display.
- Custom Decor: Use spray-painted canvases to complement your interior design.
- Gifting: Personalized spray-painted canvases make thoughtful and unique gifts.
- Social Media: Share your journey and finished pieces on platforms like Instagram and TikTok to inspire others.
SEO Tips for Marketing Your Spray Paint Art
If you’re looking to turn your spray painting hobby into a side hustle or business, consider these SEO strategies:
- Use Keywords: Incorporate terms like “spray painting on canvas,” “beginner spray painting tips,” or “abstract spray art” in your online content.
- High-Quality Images: Post clear, well-lit photos of your artwork.
- Create Tutorials: Share step-by-step guides or time-lapse videos to engage your audience.
- Engage on Social Media: Use hashtags like #SprayPainting, #ArtForBeginners, or #CanvasArt to attract followers.
- Sell Online: Platforms like Etsy, Redbubble, and Instagram Shops are great for showcasing and selling your art.
Frequently Asked Questions (FAQ)
1. Can I use any type of spray paint on canvas?
While you technically can use different spray paints, it’s best to use acrylic-based spray paints, as they are specifically designed for canvas. These paints dry quickly and offer vibrant, long-lasting results.
2. What is the best size of canvas to start with?
For beginners, it’s recommended to start with smaller canvas sizes, such as 16×20 inches. This allows you to practice techniques without feeling overwhelmed. As you gain confidence, you can experiment with larger canvases.
3. Can I spray paint on unprimed canvas?
It’s not recommended to skip the primer. Priming your canvas helps the paint adhere properly, reduces absorption issues, and ensures a smooth, even finish.
4. How do I control the spray paint flow?
To control the spray paint flow, adjust the nozzle and practice on scrap materials first. Lightly pressing the nozzle creates a soft spray, while pressing harder increases the paint flow.
5. How long does spray paint take to dry on canvas?
Drying time depends on the thickness of your layers and the type of paint used. Generally, allow each layer to dry for at least 20-30 minutes before applying the next. After the final coat, give it several hours or overnight to fully cure.
6. Can I use spray paint to create realistic art on canvas?
Yes! Spray painting on canvas is versatile enough for realistic art. You can layer and blend paints to achieve detailed textures and depth, similar to traditional techniques.
7. How do I protect my finished spray painting?
Once your artwork is complete and fully dry, seal it with a clear acrylic spray varnish to protect it from dust, fading, and damage. Apply 2-3 thin coats, letting each layer dry before applying the next.
Conclusion
Spray painting on canvas is an exciting and rewarding way to express your creativity. With the right tools, techniques, and mindset, you’ll be splatting and splattering like a pro in no time. Remember, every artist starts as a beginner—so embrace the process, make mistakes, and most importantly, have fun!
Now it’s your turn. Grab a canvas, shake up that spray can, and let your imagination soar. Who knows? Your next masterpiece could be just a spray away!