Want to bring new life to your small project without stretching your wallet? Painting on a budget doesn’t mean compromising on quality. With the right budget-friendly spray paint options, you can achieve stunning results, giving your DIY creations a fresh, professional finish. In this guide, we’ll explore the best affordable spray paints on the market and share tips and techniques to make the most of them. Get ready to unleash your creativity—all without breaking the bank!
Why Choose Budget-Friendly Spray Paint?
It’s easy to assume that great results require high-end products, but that’s not always the case. While premium paints can offer unique finishes, there are plenty of cost-effective spray paints that deliver on color vibrancy, durability, and ease of application. Budget spray paints allow you to experiment freely with different projects and color schemes, making them ideal for beginners or anyone working with a tight budget.
Whether you’re a DIY beginner or a seasoned crafter, budget spray paints provide a convenient, low-cost solution to refresh smaller items and add a unique touch to your space. Let’s dive into some of the best spray paints for small projects that won’t strain your wallet.
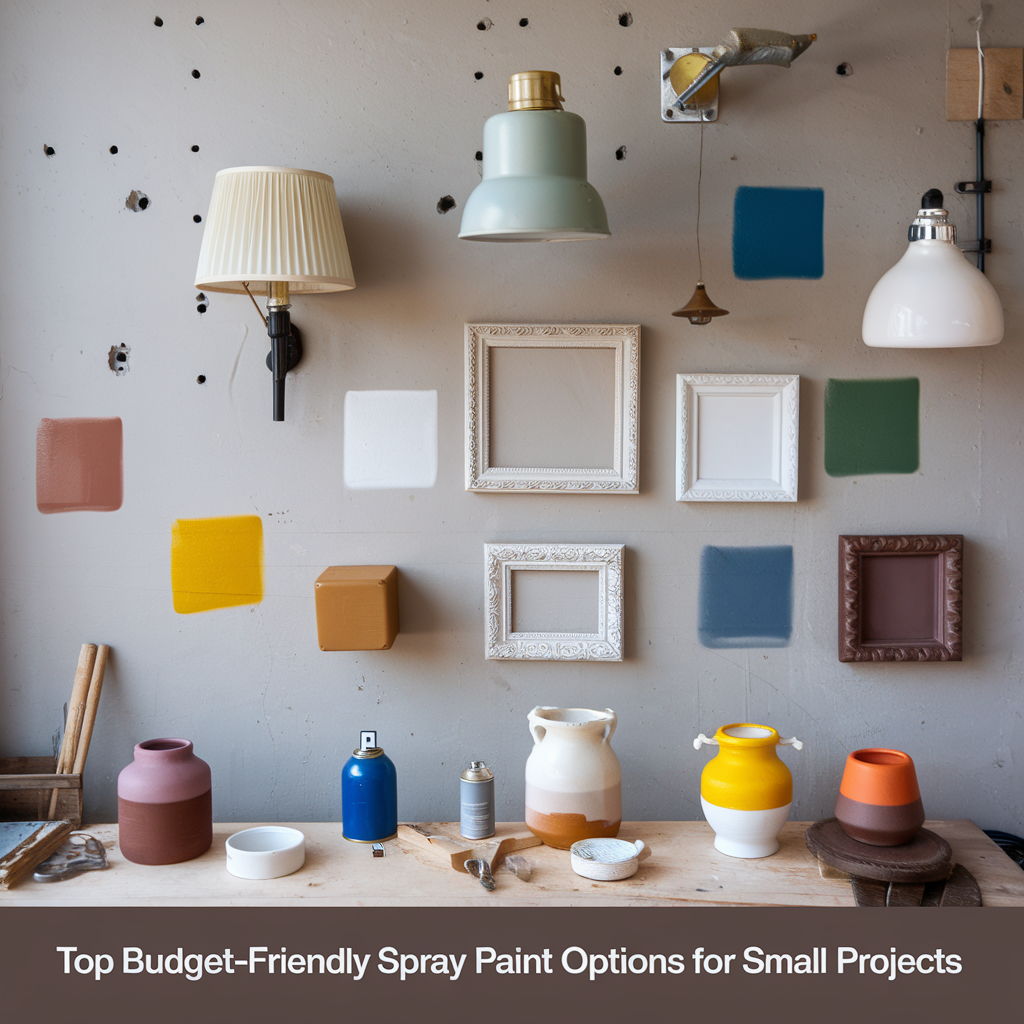
Top Budget-Friendly Spray Paint Options for Small Projects
Here are some top-rated affordable spray paints that offer excellent coverage, vibrant color, and reliable performance, all at an accessible price.
1. Rust-Oleum Painter’s Touch 2X Ultra Cover Spray Paint
- Price: Wallet-friendly
- Coverage: 11.5 oz. can covers up to 4 square feet
- Best For: Furniture, trim, decorative items
- Overview: Rust-Oleum’s Painter’s Touch line provides rich, even color and a smooth finish that adheres well to various surfaces, including wood, metal, plastic, and more. Its quick-drying formula reduces the wait time between coats, allowing you to complete projects faster. Plus, it’s available in a wide array of colors and finishes, including matte, gloss, and satin, so you have plenty of creative freedom.
2. Krylon ColorMaster Paint + Primer Spray Paint
- Price: Affordable and versatile
- Coverage: 12 oz. can covers up to 6 square feet
- Best For: Projects needing a strong primer or durable finish
- Overview: The Krylon ColorMaster line offers both paint and primer, which is a great value for budget-conscious DIYers. It works on metal, plastic, wood, and even glass, making it a versatile choice for small projects around the house. Its large color selection and durable finish allow you to achieve professional-looking results, and it’s highly resistant to fading, chipping, and peeling.
3. Hannona Premium Spray Paint
- Price: Cost-effective and accessible
- Coverage: 12 oz. can covers up to 6 square feet
- Best For: Small to medium-sized decor projects
- Overview: Hannona offers an economical yet effective option for smaller DIY projects. This spray paint dries quickly and is easy to apply in thin coats, making it a practical choice for beginners and budget-conscious artists. It’s available in various finishes, and the colors retain their vibrancy, even over time. While it’s not as widely known as Rust-Oleum or Krylon, Hannona is a hidden gem for those looking to save on materials without sacrificing results.
4. Montana Cans Black Spray Paint
- Price: Affordable with excellent color range
- Coverage: 10 oz. can covers up to 4 square feet
- Best For: Arts and crafts, detailed decor work
- Overview: Known for its vibrant colors and smooth application, Montana Cans Black is a favorite for both artists and crafters. The spray provides a durable finish and quick drying time, and it works well on various surfaces, including canvas, wood, and metal. With a low-pressure system, it’s easy to control, making it ideal for detailed work or smaller projects where precision is key.
5. ColorPlace Spray Paint by Walmart
- Price: Super affordable
- Coverage: 10 oz. can covers up to 4 square feet
- Best For: Basic furniture and outdoor decor
- Overview: ColorPlace by Walmart is an extremely budget-friendly option, ideal for quick fixes or casual DIY projects. It offers decent coverage and dries quickly, although it may require an extra coat compared to higher-end options. It’s perfect for quick makeovers, and for the price, it offers surprisingly good durability.
When selecting your spray paint, consider the type of project, the material you’ll be painting, and the finish you prefer. Here are some tips to keep in mind:
- Choose the Right Finish: Spray paints come in various finishes, including glossy, matte, and satin. Choose a finish that complements your project and desired aesthetic.
- Prep is Key: Preparing your surface is crucial. Clean it thoroughly, and when necessary, sand it for better adhesion. A properly prepped surface will result in smoother application and a more professional look.
- Apply in Light Coats: Instead of heavy spraying, apply several light coats to achieve a more even and durable finish. This technique helps prevent drips and uneven patches.
- Use Protective Gear: Always wear a mask and protective eyewear while spraying to avoid inhaling fumes or getting paint in your eyes.
Another great strategy for painting on a dime is to exploit seasonal sales or local discounts. Many craft stores and home improvement centers often run promotions on spray paints, especially during spring cleaning or summer DIY seasons. Signing up for store newsletters can keep you in the loop about upcoming sales, allowing you to stock up on your favorite products.
You can also look into using coupons, which can be found online or in local newspapers, to get the best deals. Combining coupons with sales can save you even more, enabling you to stock up on various colors and finishes for your future projects.
Painting on a dime doesn’t mean sacrificing quality for cost. By choosing the right budget-friendly spray paints and employing clever strategies, you can bring new life to your belongings without spending a fortune. So gather your materials, let your creativity flow, and watch as your small projects come to life with a splash of color! Happy painting!
Essential Tools and Techniques for Budget-Friendly Painting
Embarking on a painting project doesn’t have to break the bank. With the right tools and techniques, you can transform spaces without spending a fortune. Here’s a guide to essential tools and techniques that will help you achieve a budget-friendly painting experience.
Choosing Budget-Friendly Tools
Investing in essential tools can make a significant impact on your project’s overall cost and quality. Here’s a list of what you need:
- Paintbrushes: Look for synthetic bristle brushes for latex paints. They are cost-effective and provide a smooth finish.
- Rollers: Opt for a roller with a removable cover. You can wash and reuse these, which saves you money.
- Paint Tray: A plastic tray is easy to clean and can be reused multiple times.
- Drop Cloths: Instead of buying expensive drop cloths, use old sheets or newspapers to protect your surfaces.
- Tape: High-quality painter’s tape can prevent paint from bleeding, ensuring clean lines and reducing the need for touch-ups.
- Sandpaper: A few pieces of medium and fine-grit sandpaper will help smooth surfaces for a better finish.
The Importance of Proper Preparation
Preparation is key to achieving great results without overspending. Before you start painting, follow these steps:
- Clean the Surface: Use soap and water to clean the surfaces you’ll be painting. This step ensures that the paint adheres well and lasts longer.
- Repair Damages: Fill in any holes or cracks with a spackling compound. This simple fix can make a world of difference in your final look.
- Sand the Area: Lightly sand the surface to remove any imperfections. This will help your paint stick better and create a more polished finish.
- Prime the Surface: If you are painting over a darker color or a glossy surface, use a budget-friendly primer. This will save you from needing multiple coats of paint and will make a big difference in color coverage.
Finding Affordable Paint Options
When it comes to selecting paint, there are plenty of budget-friendly options that still deliver amazing results:
- Shop Sales: Keep an eye on sales at your local home improvement store. You can often find quality paint at reduced prices during seasonal sales or promotions.
- Consider Store Brands: Many stores have their own paint lines that are cheaper but still offer good quality.
- Buy in Bulk: If you have larger projects, buying more paint at once can save you money per gallon.
- Sample Sizes: If unsure about a color, buy sample sizes first. Test swatches can help you avoid wasting money on a full gallon of paint you may not end up liking.
- Mix Personalized Colors: Sometimes, mixing leftover paint can create a unique shade tailored to your project, further reducing costs.
Techniques for Efficient Painting
Aside from choosing the right tools and paint, consider these techniques to enhance your efficiency and save money:
- Use the Right Techniques: When using a roller, apply paint in a “W” pattern for even coverage.
- Paint Edges First: Always tackle edges and corners with a brush before rolling larger areas. This can minimize paint waste and ensure a neat finish.
- Keep a Wet Edge: When applying paint, make sure to blend new strokes into wet paint. This reduces lap marks and gives a smooth appearance.
- Avoid Overloading Your Brush or Roller: Dip only the tip of your brush into paint to prevent drips, making the job cleaner and easier.
Cleaning and Storage Tips
Taking care of your tools after the project can save you money in the long run:
- Clean Tools Immediately: Wash brushes and rollers right after use to extend their lifespan.
- Proper Storage: Store leftover paint in a cool, dry place to ensure it remains usable for future touch-ups.
With these essential tools and techniques, you can tackle your painting projects smartly and affordably. Remember, it’s not just about saving money; it’s about achieving beautiful results while being resourceful. Happy painting!
Creative Ideas for Using Spray Paint in Home Decor
Spray paint is a versatile tool that can breathe new life into old items and add flair to your home decor. Whether you’re looking to refresh furniture, create wall art, or even add unique touches to everyday items, the possibilities are endless. Here are some creative ideas to effectively use spray paint in your home decor projects.
Transform Furniture with a Fresh Coat
Your old furniture can easily become a standout piece with just a little spray paint. Consider these ideas:
- Chairs: Spray paint wooden or metal chairs to match your current color scheme. Go bold with colorful hues or opt for elegant metallics.
- Dressers: Instead of a complete refinish, spray-paint the drawers or knobs for a quick update.
- Tables: Give a tired coffee table or side table a makeover with a fun pattern or a solid color that coordinates with your decor.
Create Unique Wall Art
Why buy expensive art when you can create your own? Spray paint can help you produce stunning pieces. Here are a few techniques:
- Stenciling: Use stencils to create eye-catching designs. Lay down a stencil, spray over it with your chosen color, and reveal the design when you remove it.
- Ombre Effects: Layer shades of the same color to create an ombre effect that fades beautifully from dark to light.
- Spray Paint on Canvas: Apply spray paint directly onto canvas for a modern artistic touch. Mix colors and experiment with different spraying techniques for unique results.
Accent Home Accessories
Small touches can make a big difference in your space. With spray paint, you can enhance everyday items to fit your style:
- Vases: Update glass vases with a matte finish for a modern touch or spray paint them in bold colors to match your decor.
- Frames: Give picture frames new life by painting them in vibrant hues or classic metallics.
- Candlestick Holders: An old candlestick can feel new again with a fresh coat of paint. Choose a color that pops against your table setting.
Spray Paint for Outdoor Decor
Don’t forget about your outdoor space! Spray paint can rejuvenate your patio or garden decor:
- Planters: Spice up your plant pots with a coat of spray paint. Choose colors that brighten up your garden or coordinate with outdoor furniture.
- Furniture: Refresh your patio furniture with exterior spray paint specially formulated to withstand the elements.
- Garden Art: Use spray paint on rocks, wood, or metal to create decorative garden art that expresses your personality.
Innovative DIY Projects
If you’re looking to unleash your creativity, consider these fun DIY projects using spray paint:
- Customized Storage Bins: Transform ordinary bins by spraying them with bright colors or patterns to keep your space organized and visually appealing.
- Wall Markings: Create fun designs on walls using painter’s tape and spray paint. This adds uniqueness and flair to any room.
- Light Fixtures: Give outdated light fixtures a chic upgrade with spray paint. Ensure you use heat-resistant spray for optimal safety.
Using spray paint creatively opens up a world of possibilities for your home decor. With just a few cans of paint and a dash of imagination, you can turn everyday items into stunning decor pieces. Whether you are sprucing up furniture, creating personalized art, or enhancing accents, the key is to experiment and have fun. Explore these ideas and let your creativity shine!
How to Choose the Right Spray Paint Finish for Your Project
Choosing the right spray paint finish can transform your project from ordinary to extraordinary. With so many options available, it’s essential to understand the various finishes and how they can affect the look and durability of your work. Whether you’re tackling a DIY home decor project or sprucing up garden furniture, considering the finish will lead you to the best results. Let’s explore this further.
Understanding the Types of Spray Paint Finishes
Spray paint comes in a range of finishes, each contributing a unique flair to your finished product. Here’s a breakdown of the most common types:
- Matte Finish: This finish absorbs light, giving a soft appearance. It’s great for hiding imperfections and adds a modern look. Ideal for projects where you want to avoid glare.
- Satin Finish: A satin finish lies between matte and gloss. It offers a smooth surface with a slight sheen. This type is versatile and works well in both indoor and outdoor applications.
- Gloss Finish: Known for its shiny and reflective surface, gloss finish is perfect for making colors pop. It’s easy to clean, making it suitable for furniture and surfaces that see a lot of use.
- Metallic Finish: This type adds shimmer and shine, reminiscent of real metal. Perfect for decorative items, it can elevate the look of simple pieces.
- Textured Finish: Textured paint creates a unique feel and appearance, often mimicking natural materials. This adds depth to your project, making it visually interesting.
Choosing the Right Finish for Your Project
Your choice of finish should reflect the intended use and aesthetic of your project. Here are some factors to consider:
1. Purpose of the Project
Ask yourself what the project will be used for. Will it endure outdoor conditions? Will it be a frequently touched item? Let the purpose guide your decision. For instance, if it’s outdoor furniture, go for a gloss or satin finish for durability.
2. Surface Material
The surface you’re painting will also dictate the best finish. Rough surfaces often benefit from a textured or matte finish, while smooth surfaces can shine with a gloss or metallic.
3. Desired Aesthetic
Consider the style you want to achieve. A matte finish offers a muted, modern look, while a gloss finish creates vibrancy and attention. Think about your decor and how the finish will complement it.
Tips for Achieving the Best Finish
Once you choose the right type of spray paint finish, here are some tips to ensure successful application:
- Prep Your Surface: Clean and sand your surface before applying any paint. This helps the paint adhere better and ensures an even finish.
- Test Before Final Application: Always do a test spray on a hidden area or scrap material. This ensures you’re satisfied with the finish before committing.
- Apply Even Coats: Use short bursts and maintain an even distance from the surface. Multiple thin coats yield a smoother finish than one thick coat.
- Allow Adequate Drying Time: Ensure each coat dries fully before adding another. This prevents runs and drips that can ruin your project.
Finishing Touches
Once your paint has dried, examine the finish. If you’re satisfied, you can seal it to add extra protection, especially for high-use surfaces. Look for sealers that work with spray paint to keep your newly painted piece looking fresh for years to come.
Choosing the right spray paint finish may seem daunting, but understanding your options, the purpose of your project, and how each finish contributes to the overall look can simplify the process. Armed with this knowledge, you’ll be well-equipped to make your next project shine in just the right way.
Tips for Preparing Surfaces to Ensure a Flawless Spray Paint Application
When you’re ready to rejuvenate an old piece of furniture or add a pop of color to a room, preparing the surface for spray painting is crucial. Proper preparation not only ensures a smooth, even application but also improves the longevity of the paint. Here’s how to get your surfaces ready for a flawless spray paint job.
Clean the Surface Thoroughly
Prior to painting, ensure that the surface is as clean as possible. Dirt, grease, and dust can affect paint adhesion. Follow these steps:
- Remove dust and dirt: Use a damp cloth or sponge to wipe down the area.
- Degrease: For surfaces that may have grease or oil, use a degreaser or a mixture of warm water and dish soap.
- Dry completely: Allow the surface to dry completely before moving on to the next step.
Sand the Surface
Sanding is essential for creating a texture that helps the paint stick better. This is particularly important for surfaces with a glossy finish. Here’s how to sand effectively:
- Choose the right sandpaper: For tougher surfaces, use a medium grit (around 120-150). For lighter sanding, fine grit (220) works well.
- Sand evenly: Ensure that you are applying uniform pressure to create an even surface.
- Clean debris: After sanding, wipe away any dust and debris with a clean cloth.
Fill In Imperfections
Before applying spray paint, it’s important to address any imperfections in the surface. This can include cracks, holes, or scratches. Use the following methods:
- Wood filler: For wooden surfaces, use wood filler to repair any dents or scratches. Allow it to dry completely and then sand smooth.
- Primer: Apply a primer if the surface is porous or has stains. Priming helps to block imperfections and improve paint adhesion.
Use the Right Primer
Your choice of primer can significantly impact the final outcome of your spray paint project. Different materials require different primers:
- For wood: Choose a water-based or oil-based primer, depending on your paint type.
- For metal: Use a rust-inhibiting primer to prevent rust.
- For plastic: Look for a primer specifically designed for plastic surfaces.
Protect Surrounding Areas
Before you start spraying, protect the surrounding areas to avoid overspray. Consider these tips:
- Use drop cloths: Lay down drop cloths or newspaper to catch any stray paint.
- Mask off areas: Use painter’s tape to cover any areas you don’t want painted.
- Well-ventilated space: Work in a well-ventilated area to ensure the paint dries correctly and safely.
Test the Spray Pattern
Before applying paint to the prepared surface, it’s beneficial to test the spray pattern. Here’s how:
- Shake the can: Shake your spray paint can vigorously for at least a minute before use.
- Test on cardboard: Spray a small amount on a piece of cardboard or scrap material to check the spray pattern and color.
- Adjust distance: Ideally, maintain a distance of around 10-12 inches from the surface when spraying.
Apply the Paint in Thin Layers
Once everything is prepared, apply the paint in thin, even coats. This method will help prevent drips and create a smooth finish. Allow each layer to dry completely before applying the next one, making sure to follow the manufacturer’s instructions regarding drying times.
By following these essential surface preparation steps, you can achieve a professional-looking finish on your spray painting projects. Not only will your newly painted piece look fantastic, but the paint will also last longer, providing you with great value for your effort.
Conclusion
When you embark on your spray painting journey, being mindful of your budget doesn’t mean you have to compromise on creativity or quality. Throughout this guide, we’ve explored a variety of affordable spray paint options that can transform your small projects without breaking the bank. Remember, the power of a well-chosen color can breathe new life into everything from tired furniture to decorative accents.
Equipping yourself with essential tools and employing the right techniques will help you achieve a professional-looking finish while keeping costs low. As you dive into various DIY endeavors, don’t shy away from innovative ideas that use spray paint creatively for home decor. From stenciled designs to ombre effects, the possibilities are endless when you let your imagination run wild.
Choosing the right spray paint finish is crucial for the success of your project. Whether you prefer a glossy sheen or a matte look, the finish can significantly impact the overall vibe of your space. Additionally, don’t overlook the importance of proper surface preparation. Taking the time to clean, sand, and prime surfaces will ensure your spray paint adheres beautifully and lasts long.
With these tips and insights, you’re now ready to tackle your next painting project with confidence. Embrace the fun of DIY painting, knowing that you have budget-friendly solutions at your fingertips. Transform your space creatively, all while enjoying the satisfaction of a job well done. Happy painting!