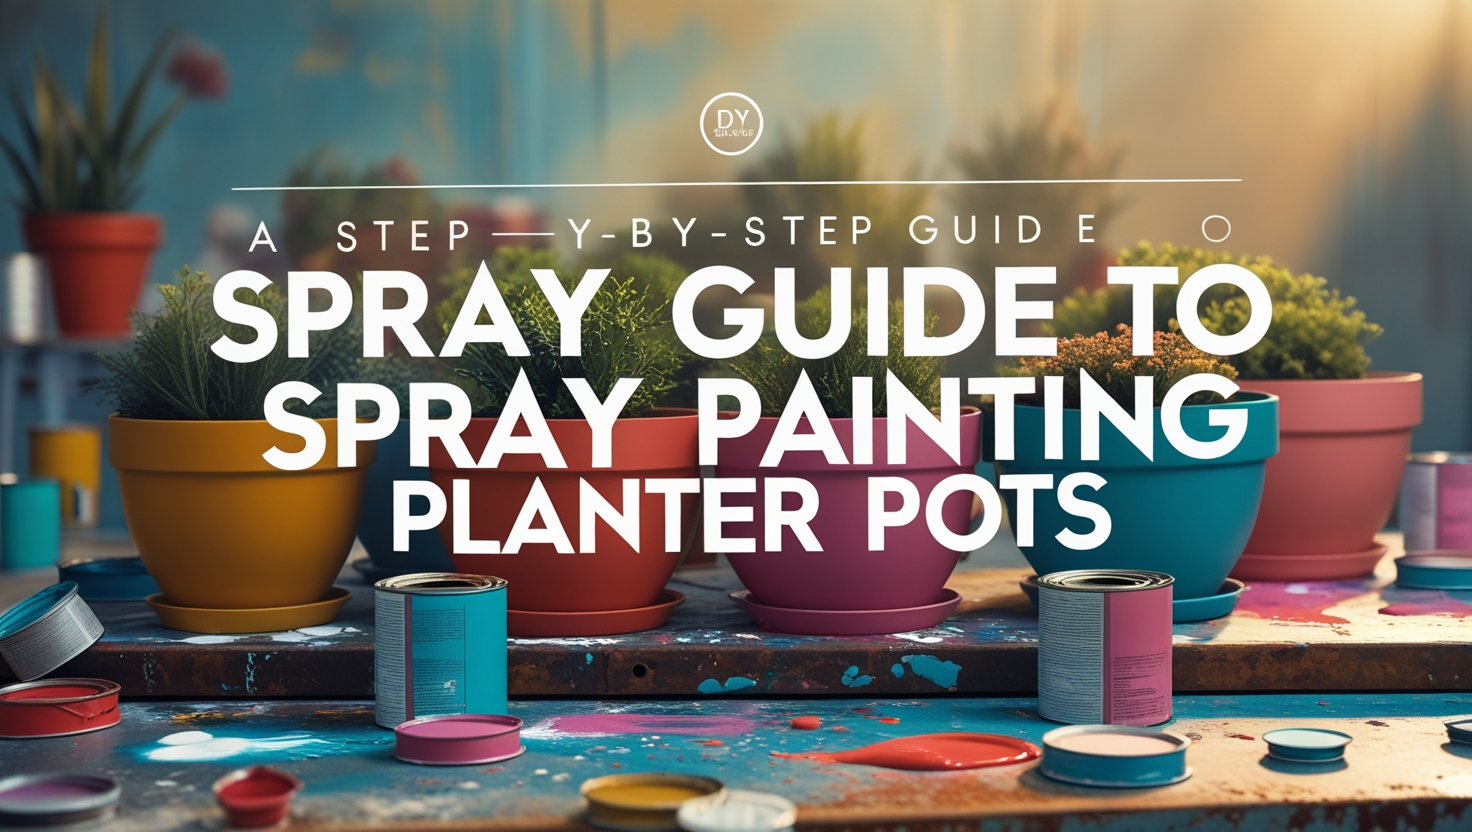
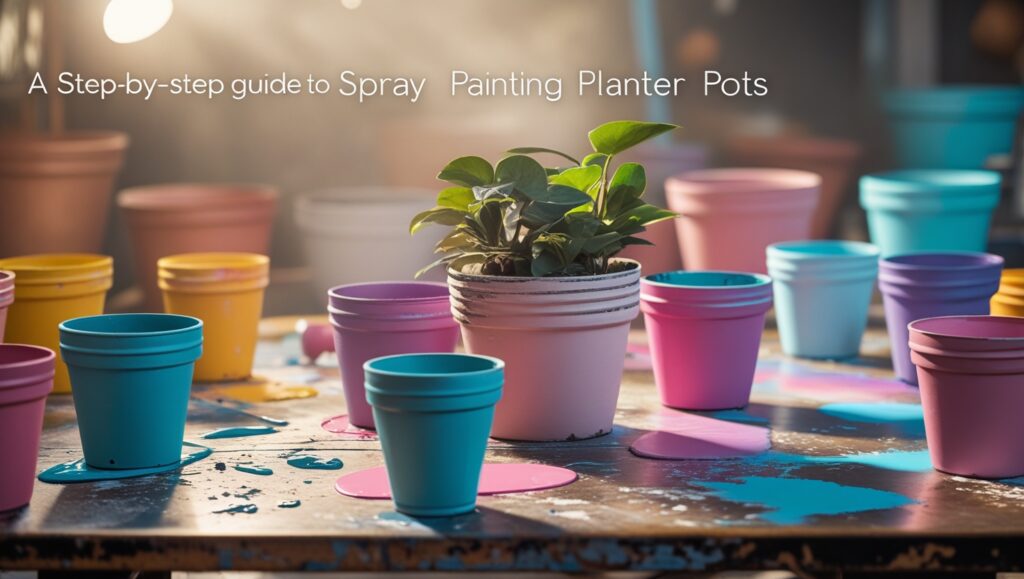
Looking to revamp your old planter pots and add a pop of color to your home or garden? Spray painting planter pots is an affordable, fun, and rewarding DIY project for any houseplant enthusiast, gardener, or decor-loving DIYer. With a few simple steps, you can transform tired planters into vibrant accents that brighten any space. In this comprehensive guide, we’ll walk through each step of how to spray paint planter pots—covering everything from essential prep work to finishing touches for a long-lasting, professional look. Ready to dive in? Let’s start!
Why Spray Paint Your Planter Pots?
Spray painting pots doesn’t just improve aesthetics; it offers a variety of benefits, including:
- Cost-Effective Refresh: Give old pots a new lease on life without replacing them.
- Customization: Choose colors and finishes that perfectly complement your style and décor.
- Durability: A high-quality spray finish adds protection against the elements, especially with an added protective layer.
Choosing the Right Spray Paint for Your Planter Pots
When it comes to giving your planter pots a fresh facelift with spray paint, choosing the right type of paint is crucial. The right choice can ensure durability, vibrant colors, and longevity. Here’s a detailed guide to help you select the perfect spray paint for your project.
Types of Spray Paint
There are several types of spray paints available in the market, each with its own set of advantages. The most common types include:
- Acrylic Latex Paint: Ideal for indoor use due to its water-based formula. It dries quickly and is easy to clean up with soap and water. However, it may not be as durable for outdoor use.
- Epoxy Paint: Known for its exceptional durability and resistance to chemicals, epoxy paint is great for both indoor and outdoor applications. It provides a hard, glossy finish and is ideal for areas exposed to moisture or heavy wear.
- Polyurethane Paint: Offers a tough, protective coating and is resistant to scratches and UV rays. It works well for both indoor and outdoor projects but requires a primer if applied over plastic or metal surfaces.
- Graffiti-Resistant Paint: Designed to withstand graffiti and other forms of vandalism. It’s a good choice for public spaces or areas prone to damage.
- Enamel Paint: Known for its glossy finish and durability, enamel paint is suitable for both indoor and outdoor use. It resists chipping and fading, making it a popular choice for gardeners and decorators alike.
Considerations Before Choosing Paint
Before you start painting, there are a few key considerations to keep in mind:
- Material of the Pot: Different materials require different types of paint. For instance, plastic pots might need a primer before applying acrylic latex paint, while clay pots may benefit from an oil-based paint.
- Location: Determine whether your pots will be indoors or outdoors. Outdoor pots will need more durable, weather-resistant paint, whereas indoor pots can use a wider range of options.
- Color and Finish: Decide on the color and finish you want. Matte finishes can hide imperfections, while glossy finishes can make colors pop but might show fingerprints.
- Budget: Some paints are more expensive than others. Set a budget and look for options that fit within it without compromising quality.
Brands to Consider
Several brands offer high-quality spray paints suitable for planter pots. Here are a few reputable options:
- Rust-Oleum: Known for their robust, durable products, Rust-Oleum offers a variety of spray paints including those designed specifically for outdoor use. Their GraffitiShield line is particularly effective against vandalism.
- Krylon: A popular choice among DIY enthusiasts, Krylon offers a wide range of colors and finishes. Their UV-Resistant spray paint is ideal for outdoor projects.
- Behr: Behr’s spray paints are known for their quality and consistency. They offer both indoor and outdoor options, with a focus on eco-friendly formulations.
- Plasti Dip: If you’re looking for a temporary solution, Plasti Dip offers a flexible, removable coating that can add color and protection to your pots without being permanent.
Additional Tips for Application
To get the best results when spray painting your planter pots, follow these additional tips:
- Surface Preparation: Clean the surface thoroughly to remove dirt, dust, and any loose paint. Sand rough spots lightly and apply a primer if needed.
- Multilayer Technique: Apply multiple thin coats rather than one thick coat. This ensures better coverage and reduces the risk of drips and uneven application.
- Drying Time: Allow adequate drying time between coats. Check the manufacturer’s instructions for specific drying times.
- Mixing Colors: If you want to create custom colors, mix them in a separate container before spraying. This ensures a consistent color throughout.
- Protective Gear: Wear gloves and a mask to protect yourself from fumes and paint residue.
By carefully selecting the right type of spray paint and following these tips, you can achieve a beautiful and lasting transformation for your planter pots. Whether you choose a glossy enamel or a matte acrylic, the end result will be a refreshed and stylish addition to your home or garden.
Preparing Your Pots for a Smooth Paint Job
Before you start spray painting your planter pots, it’s essential to prepare them properly to ensure a smooth and long-lasting finish. Proper preparation can make all the difference in achieving a professional look. Here’s a step-by-step guide to help you get started.
Removing Old Paint and Debris
The first step is to remove any old paint or debris from your pots. If your pots already have paint on them, you’ll want to strip it off to avoid flaking and peeling later. You can use sandpaper or a wire brush to scrape away loose paint. For stubborn patches, consider using a paint stripper. Once the old paint is removed, wipe down the surface with a damp cloth to remove any dust or residue.
Cleaning the Surface
After removing the old paint, thoroughly clean the surface of the pot. Use a mild detergent and warm water to scrub the pot. This will remove any dirt, grime, or oils that could interfere with the paint adhesion. Rinse the pot with clean water and let it dry completely before moving on to the next step. Drying is crucial because moisture can affect how the paint adheres to the surface.
Repairing Cracks and Flaws
Inspect the pot for any cracks or flaws. Small cracks can be filled with a suitable filler material, such as epoxy putty. Apply the filler according to the manufacturer’s instructions, smoothing it out with a putty knife. Let the filler dry completely, then sand the area until it’s smooth and level with the rest of the pot. Wipe away any dust with a damp cloth before proceeding.
Sanding the Surface
Once the pot is clean and any repairs are complete, lightly sand the entire surface with fine-grit sandpaper. Sanding helps create a slightly rough texture that improves paint adhesion. Be sure to sand evenly, paying attention to corners and edges where paint might pool or peel. After sanding, wipe the pot down again with a damp cloth to remove any dust or debris.
Masking Off Areas
If you’re planning to paint only certain parts of the pot or leave some areas unpainted, now is the time to mask them off. Use painter’s tape to cover any areas you don’t want to paint. Press the tape down firmly to ensure a good seal. Double-check that no paintable areas are accidentally covered. Masking is particularly useful if you’re adding patterns or designs to your pot.
Priming the Surface
While not always necessary, priming can significantly enhance the durability and appearance of your painted pots. Choose a primer that’s compatible with the type of paint you plan to use. Apply the primer evenly with a brush or spray applicator. Allow the primer to dry completely according to the manufacturer’s instructions. Priming creates a uniform base that helps the paint adhere better and can also help cover up any discoloration or stains.
Final Inspection
Before you start painting, give your pot one last inspection. Check that all areas are clean, dry, and free of debris. Make sure any masking tape is securely in place. This final step ensures that you’re starting with a clean slate and sets you up for success in the next stages of the process.
By following these steps, you’ll ensure that your pots are well-prepared for a fresh coat of paint. Proper preparation is key to achieving a smooth, long-lasting finish that will beautify your garden or patio for years to come.
Techniques for Applying Spray Paint to Achieve Professional Results
When it comes to giving your pots a fresh facelift with spray paint, achieving professional results can seem daunting. However, with the right techniques, you can transform ordinary planters into stunning works of art that enhance your garden or indoor space. Here’s a step-by-step guide to help you get started:
Choosing the Right Materials
Before you begin, gather all the necessary materials. You’ll need:
- A selection of high-quality spray paints in your desired colors
- Sandpaper (120-grit)
- Clean rags or paper towels
- Masking tape
- Newspaper or drop cloths
- Protective gloves and a mask
Preparing Your Workspace
Choose a well-ventilated area for your project, ideally outdoors or in a garage. Lay down newspaper or drop cloths to protect surfaces from overspray. Ensure the area is free of dust and debris.
Cleaning the Pots
Begin by thoroughly cleaning the pots. Remove any dirt, grime, or old paint. Use a damp cloth to wipe down the surface, then let it dry completely. This ensures better adhesion of the new paint.
Sanding for Better Adhesion
Lightly sand the surface of the pot using 120-grit sandpaper. This roughens the surface, allowing the paint to adhere better. Wipe away any dust with a clean rag before proceeding.
Taping Off Areas You Don’t Want to Paint
If you want to create patterns or designs, use masking tape to mark off areas. Press the tape firmly to avoid paint bleeding underneath. For a uniform look, consider using a level or straight edge to ensure clean lines.
Priming the Surface
Although optional, priming can significantly improve the final appearance. Apply a thin, even coat of primer designed for plastic or metal surfaces. Allow it to dry according to the manufacturer’s instructions.
Applying the First Coat of Paint
Shake the spray paint can vigorously for at least one minute. Hold the can about 8-10 inches away from the pot and apply light, even coats. Work in a sweeping motion to cover large areas smoothly. Avoid applying too much paint in one spot, which can cause drips.
Allowing Each Coat to Dry
Let each coat dry completely before applying the next. Most spray paints require at least 15 minutes between coats. Refer to the product label for specific drying times.
Adding Additional Coats
For a more vibrant and durable finish, apply 2-3 coats of paint. More coats generally yield better results, but be sure to allow ample time for each coat to dry.
Removing Tape and Finishing Touches
Once the final coat is dry, carefully remove the masking tape. If any areas need touch-ups, gently apply additional paint. Allow the touch-up areas to dry completely.
Sealing the Paint Job
To protect your newly painted pots and extend their lifespan, apply a clear sealer. Choose a sealer that is resistant to UV rays and water. Apply a thin, even coat and allow it to dry thoroughly.
Maintaining Your Painted Pots
Regular maintenance can keep your painted pots looking fresh. Avoid exposing them to extreme temperatures and excessive moisture. Clean them periodically with mild soap and water to remove dirt and grime.
By following these detailed steps and techniques, you can achieve professional-looking results when spray painting your planters. Not only will your pots look fantastic, but they’ll also withstand the elements and last longer, adding a touch of personal style to your garden or home.
Design Ideas to Transform Your Garden with Custom-Painted Pots
Adding a fresh facelift to your garden can breathe new life into your outdoor space, making it more inviting and visually appealing. One of the most effective ways to achieve this is by custom-painting your planter pots. Not only does this add a personal touch, but it also allows you to experiment with different design ideas that can transform your entire garden. Whether you’re looking to match a color scheme, add a pop of color, or simply give old pots a new lease on life, here’s how you can do it.
Choosing the Right Pots
Before you start painting, select the right pots that fit your garden’s style and size requirements. Terra cotta pots are popular due to their porous texture, which helps in providing better drainage and allowing paint to adhere well. However, plastic and metal pots also work great and can be easier to work with. Consider the durability and weight of the pots as well, especially if you plan to move them around frequently.
Selecting the Paint Type
The type of paint you choose plays a crucial role in the longevity and appearance of your painted pots. Acrylic paints are a great choice because they are easy to find, affordable, and come in a wide range of colors. They also adhere well to various surfaces and dry quickly. For a more durable finish, consider using spray paint, which provides an even coat and dries faster. If you want to go the extra mile, epoxy-based paints offer excellent resistance to water and UV rays, making them ideal for outdoor use.
Preparing Your Pots
Proper preparation is key to achieving a professional-looking result. Start by cleaning your pots thoroughly with soap and water to remove any dirt or debris. Allow them to dry completely before proceeding. If you’re working with terra cotta, lightly sand the surface to help the paint adhere better. Mask off any areas you don’t want to paint, such as the bottom of the pot or the inside. This step ensures clean lines and prevents unwanted paint splatters.
Design Ideas for Custom-Painted Pots
- Geometric Patterns: Create bold geometric shapes like stripes, chevrons, or hexagons using painter’s tape for crisp edges. Mix and match colors to create dynamic patterns that draw the eye.
- Ombre Effect: Gradually blend two or more colors to create a smooth transition from one shade to another. This technique adds depth and dimension to your pots, making them stand out.
- Nature-Inspired Designs: Draw inspiration from nature with floral motifs, leaf patterns, or even bird silhouettes. Use stencils for precision or freehand for a more organic look.
- Monochromatic Schemes: Choose a single color and create varying shades through layering or adding white or black to the base paint. This approach offers a cohesive and sophisticated look.
- Abstract Art: Let your creativity run wild with abstract designs. Splatter paint, swirl colors together, or create random patterns for a modern and artistic touch.
Finishing Touches
Once you’ve finished painting, let the pots dry completely. Apply a clear sealer to protect your artwork and ensure it lasts longer outdoors. Polyurethane or a clear acrylic sealant works well and comes in both matte and glossy finishes. This final step is essential for maintaining the integrity of your custom designs, especially if they are exposed to weather elements.
Maintaining Your Custom-Painted Pots
To keep your painted pots looking vibrant and fresh, avoid placing them in direct sunlight for extended periods, as UV rays can fade the paint over time. Regularly clean the pots with mild soap and water to remove dirt and grime. If you notice any chipping or peeling, touch up the affected areas with a bit of matching paint and reapply the sealer.
By following these steps and exploring the variety of design ideas, you can easily transform your garden with custom-painted pots. Not only will this project enhance the aesthetic appeal of your outdoor space, but it will also give you a sense of satisfaction knowing that you’ve created something truly unique. Happy painting!
Caring for Your Newly Painted Planters to Ensure Longevity
When you’ve put in the effort to give your pots a fresh facelift with spray paint, it’s crucial to maintain their new look and ensure they last for years. Proper care can enhance the longevity of your newly painted planters and keep them looking vibrant and stylish. Here’s how you can care for your freshly painted planters to make sure they stay beautiful for a long time.
Choosing the Right Location
After painting your pots, it’s important to place them in a location that suits their new finish. Direct sunlight can cause paint to fade and peel over time. Opt for a spot that gets partial shade, especially during the hottest parts of the day. If you must place your pots in full sun, consider adding a protective layer like a clear sealant to safeguard the paint.
Cleaning Your Planters Regularly
Maintaining cleanliness is key to keeping your planters looking their best. Dirt, dust, and debris can accumulate on the surface, dulling the finish and making the pots appear less attractive. Use a soft cloth or sponge with mild dish soap and water to gently clean the pots. Rinse thoroughly with water and allow them to dry completely before placing plants inside.
Protective Coatings for Durability
To extend the life of your painted planters, apply a clear coat of sealant. This protective layer acts as a barrier against moisture, UV rays, and physical wear. Choose a sealant that is specifically designed for outdoor use and compatible with the type of paint you used. Apply the sealant evenly, following the manufacturer’s instructions, and allow it to dry completely before exposing the pots to water or soil.
Avoiding Abrasive Materials
When handling your newly painted planters, avoid using abrasive materials that can scratch or damage the paint. Use non-abrasive tools and brushes when cleaning or moving the pots. For example, a soft-bristled brush or a sponge is ideal for removing dirt without scratching the surface. This precaution helps maintain the integrity of the paint job and keeps your pots looking new.
Seasonal Maintenance Tips
As seasons change, so does the environment your planters face. During winter, protect your planters from freezing temperatures and harsh weather conditions. Cover them with a tarp or store them in a garage or shed if possible. In summer, continue to monitor for signs of fading or peeling and reapply sealant as needed. Regular maintenance throughout the year ensures your planters remain in top condition.
Inspecting for Wear and Tear
Periodically inspect your painted planters for any signs of wear and tear. Look for cracks, chips, or areas where the paint may be starting to peel. Address these issues promptly by touching up the affected areas with a small brush and the same paint you originally used. This proactive approach prevents minor damage from becoming more significant problems.
Storing Planters Properly
When not in use, store your planters in a dry, cool place. This helps prevent moisture buildup, which can lead to rust or degradation of the paint. If space is limited, stack smaller pots inside larger ones to save room while protecting them from the elements. Proper storage extends the lifespan of your planters and ensures they are ready for use when needed.
Repainting When Necessary
Over time, even the most well-maintained planters may need a fresh coat of paint. This could be due to significant fading, chipping, or if you simply want to refresh their appearance. Before repainting, thoroughly clean and sand the surface to ensure good adhesion of the new paint. Follow the steps for initial painting, including priming if necessary, to achieve a smooth, professional-looking finish.
By following these tips, you can ensure that your newly painted planters remain a beautiful addition to your garden or home for many years to come. Proper care and maintenance not only preserve the aesthetic appeal but also extend the functional life of your planters, making your investment worthwhile.
Conclusion
Spray painting your planter pots is a fantastic way to breathe new life into your garden while personalizing your space. By choosing the right spray paint, preparing your pots meticulously, and applying the paint with care, you can achieve professional results that stand the test of time. Experimenting with different design ideas allows you to express your creativity and transform ordinary pots into stunning focal points. Remember to follow proper care guidelines to ensure your newly painted planters remain vibrant and durable. With these steps, you can give your pots a fresh facelift and enjoy a beautifully customized garden that brings joy and beauty for years to come.