
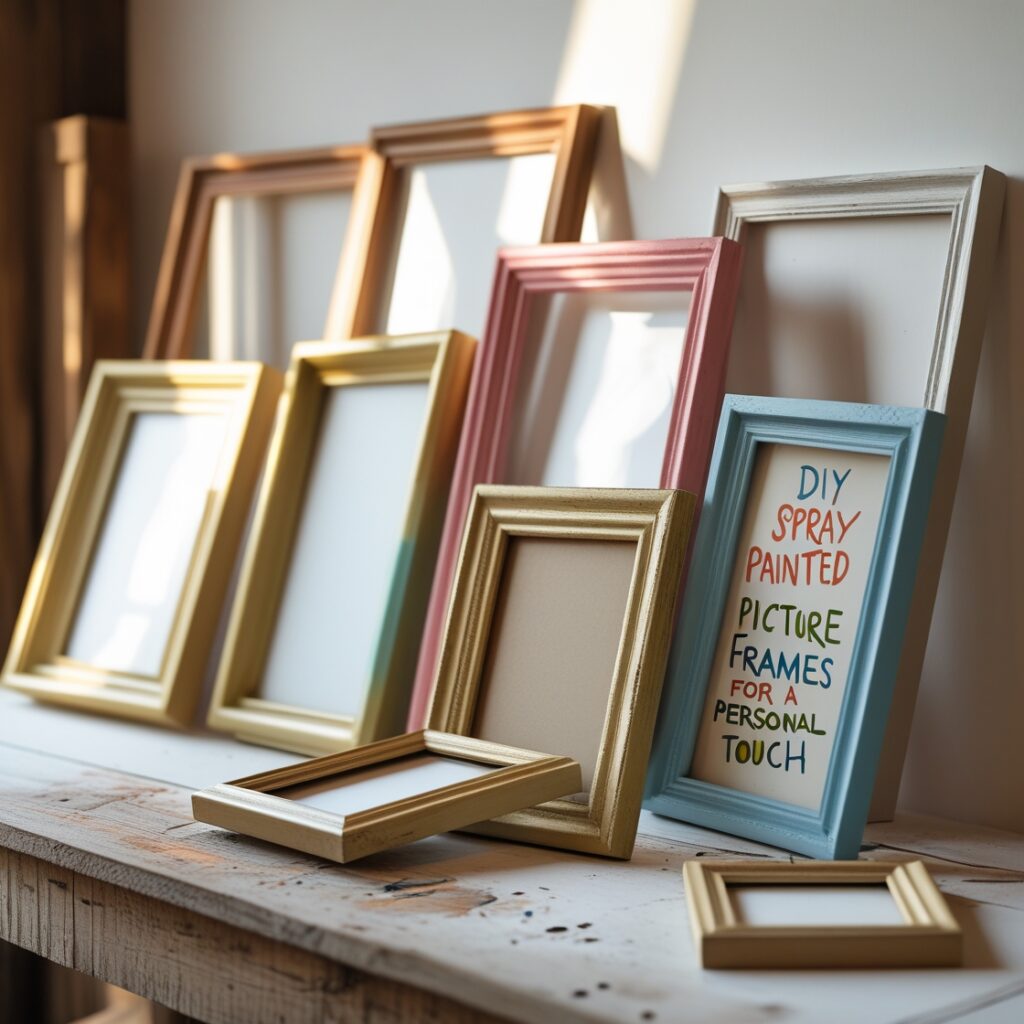
Ever looked at your picture frames and thought they needed a little sprucing up? Spray painting them is a super easy way to give them a fresh, new look without spending a ton of cash. Whether they’re wood or metal, you can transform them to match your style. This guide will walk you through everything you need to know about DIY spray painted picture frames, from picking the right paint to displaying your finished pieces.
Key Takeaways
- Spray painting picture frames is an affordable way to update your decor.
- Choose the right spray paint finish and color to match your room.
- Clean and prep frames properly for the best results.
- Use primer if necessary for a smoother finish.
- Experiment with different designs and techniques for unique frames.
Choosing the Right Spray Paint for Your Picture Frames
Understanding Different Spray Paint Finishes
Spray paint comes in a variety of finishes, each offering a unique look to your picture frames. Matte finishes provide a subtle, non-reflective appearance, perfect for a more understated style. On the other hand, glossy finishes add a shiny, reflective quality that can make colors pop. Satin finishes strike a balance between matte and glossy, offering a slight sheen without being too flashy. Consider the overall vibe you want to achieve with your frames when choosing the finish.
Selecting Colors to Match Your Decor
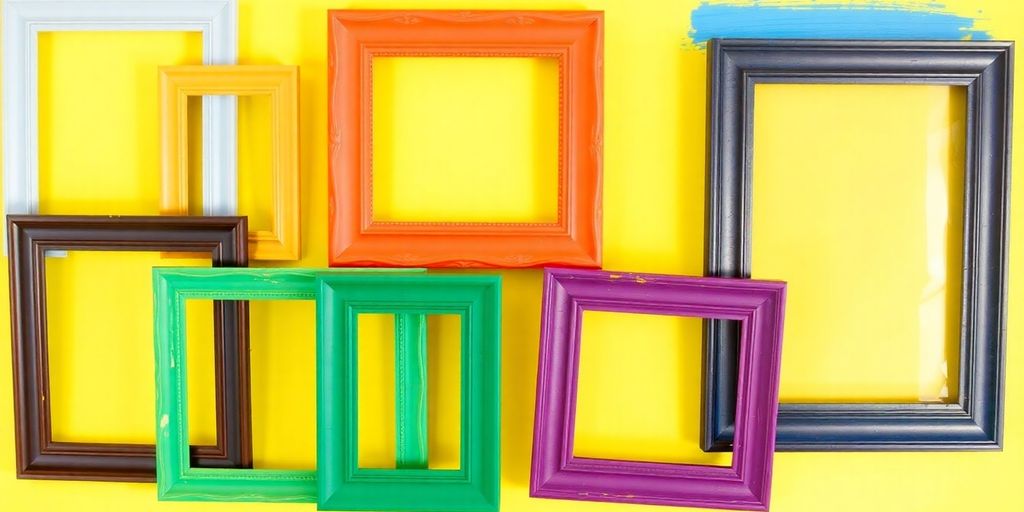
When selecting spray paint colors, it’s essential to think about how the frames will fit into your existing decor. Neutral colors like black, white, or gray are versatile and can blend seamlessly with various styles. If you’re looking to make a statement, bold colors such as red, blue, or green can add a splash of personality. Metallics like gold or silver can bring a touch of elegance and sophistication to your frames. Test a small area first to ensure the color complements your room’s color palette.
Brands That Offer the Best Coverage
Not all spray paints are created equal, and some brands are known for their superior coverage and durability. Rust-Oleum and Krylon are popular choices among DIY enthusiasts. These brands offer a wide range of colors and finishes, and their paints are known for adhering well to different surfaces, including wood and metal. They also dry quickly, which is a bonus when working on multiple frames. Investing in a quality brand ensures that your frames will look great and stand the test of time.
Choosing the right spray paint is the first step in transforming your picture frames into beautiful pieces that reflect your personal style. Take your time to explore different finishes and colors to find the perfect match for your home.
Preparing Your Picture Frames for Spray Painting
Cleaning and Sanding Techniques
Before you start spray painting, it’s crucial to get your picture frames squeaky clean and smooth. Start by wiping your frames down with a damp cloth to remove any dust or grime. This step ensures that the paint sticks well and gives you a nice, even finish. Once clean, the next step is sanding. Use fine-grit sandpaper to gently sand the surface of the frames. Learn how to paint wooden picture frames effectively by gently sanding with the grain, ensuring a clean surface by wiping off dust with a tack cloth, and repeating the sanding process for a smooth finish. This will help the paint adhere better and prevent peeling later on. Remember, a little prep work goes a long way!
Using Primer: When and Why
Priming your frames before painting might seem like an extra step, but it’s a real game-changer. A good primer can help cover up any imperfections and create a smooth base for your paint. It’s especially important if you’re working with metal frames or switching from a dark to a light color. Apply a thin coat of primer and let it dry completely before moving on to painting. Using a primer can save you time and effort in the long run by ensuring better paint adhesion and durability.
Setting Up a Safe Painting Area
Setting up a proper painting area is key to avoiding mess and achieving a professional-looking finish. Choose a well-ventilated space, ideally outdoors or in a garage with the door open. Lay down a drop cloth or some old newspapers to protect your floor from overspray. Make sure the area is free from dust and debris that could stick to the wet paint. Arrange your frames on the cloth, ensuring they’re stable and not touching each other. This setup will help you focus on painting without worrying about the cleanup.
Step-by-Step Guide to Spray Painting Picture Frames

Essential Tools and Materials Needed
Before you dive into painting wooden picture frames, gather all your tools and materials. Here’s what you’ll need:
- Spray Paint: Choose a color that complements your decor. Consider brands like Krylon or Rust-Oleum for their quick-drying properties.
- Primer: Vital for sealing the wood and ensuring the paint adheres well.
- Sandpaper: To smooth out any rough spots on the frame.
- Drop Cloth or Old Newspaper: Protects your workspace from overspray.
- Painter’s Tape: For masking areas you don’t want painted.
Applying the First Coat of Paint
- Prep the Frame: Clean the frame thoroughly with a damp cloth to remove any dust or grime. Sand down any rough areas.
- Apply Primer: Spray a light coat of primer over the frame. This helps the paint stick better and last longer.
- First Coat of Paint: Shake your spray paint can well. Hold it about 6-8 inches from the frame and apply the first coat in even, sweeping motions. Let it dry for about 30 minutes.
Ensuring Even Coverage and Finishing Touches
- Second Coat: Once the first coat is dry, apply a second coat for a richer color. Again, use even strokes to avoid drips.
- Check for Missed Spots: Inspect the frame under good lighting. If you notice any areas that need more paint, touch them up.
- Final Touches: After the paint is completely dry, remove any painter’s tape and clean up any overspray on the glass with a scraper.
Tip: Using a spray gun can make the process smoother and give a more even finish, especially if you’re working on multiple frames. It saves your fingers from getting tired and helps avoid uneven pressure on the nozzle.
With these steps, you’ll have beautifully spray-painted frames that add a personal touch to any room. Whether you’re updating old frames or creating a gallery wall, this DIY project is simple and satisfying.
Creative Ideas for DIY Spray Painted Picture Frames
Incorporating Metallic and Glossy Finishes
Adding a touch of metallic or glossy finish to your picture frames can really make them pop. Metallic spray paints, like gold or silver, can transform an ordinary frame into a statement piece. Glossy finishes, on the other hand, add a sleek, modern look. Here’s how you can do it:
- Choose a metallic spray paint, such as gold or silver, for a luxurious feel.
- Apply a glossy top coat after the paint dries to enhance the shine.
- Consider using these finishes on frames that will be placed in rooms with lots of natural light to maximize their reflective quality.
Using Stencils for Unique Designs
Stencils are a fantastic way to add unique patterns and designs to your frames. Whether you’re going for a geometric pattern or something more intricate, stencils can help you achieve a professional look with ease.
- Select a stencil design that complements your room’s decor.
- Secure the stencil on the frame with painter’s tape to avoid any slipping.
- Lightly spray over the stencil, ensuring even coverage to avoid drips.
Mixing and Matching Frame Styles
Don’t be afraid to mix and match different frame styles to create an eclectic display. Combining various shapes, sizes, and colors can add depth and interest to your decor.
- Pair traditional frames with modern ones for a balanced look.
- Use a consistent color palette to tie different styles together.
- Experiment with different textures, such as wood and metal, to add variety.
Spray painting your picture frames is not just about changing colors; it’s about reinventing your space. With a little creativity, you can easily transform your frames into art pieces themselves. Discover five simple DIY projects that utilize spray paint to refresh your home decor affordably. Transform items you already own for a budget-friendly update.
Displaying Your Newly Painted Picture Frames
Creating a Gallery Wall
After you’ve given your picture frames a fresh coat of paint, it’s time to think about how to display them. One popular option is to create a gallery wall. Gallery walls are a great way to showcase a collection of frames in a cohesive manner. To start, select a wall that can serve as a focal point in your room. Consider mixing different frame sizes and styles to add visual interest. Lay out your frames on the floor first to experiment with different arrangements. Once you’re happy with the layout, use a level and measuring tape to hang each frame evenly.
Pairing Frames with Artwork and Photos
Choosing the right artwork or photos for your newly painted frames can enhance the overall look. Think about the colors in your frames and select art pieces or photographs that complement or contrast with those hues. Black and white photos often work well with colorful frames, while vibrant art can pop in more neutral frames. Remember, the goal is to create a balanced look that draws the eye.
Tips for Arranging Frames on Different Surfaces
When it comes to arranging frames, not all surfaces are created equal. For instance, discover tips for arranging and hanging pictures on walls if you’re working with drywall, you might need special hooks or anchors to ensure your frames stay put. On brick or concrete walls, consider using masonry nails or adhesive hooks. If you’re placing frames on shelves or mantels, lean them against the wall for a casual look, or use easels for added stability.
Arranging your frames thoughtfully can transform any space, making it feel more personalized and inviting. Don’t be afraid to experiment with different layouts and placements until you find what works best for your home.
Troubleshooting Common Spray Painting Issues
Dealing with Drips and Uneven Coats
Drips and uneven coats are the bane of any spray painting project. Keeping the spray can at a consistent distance—about 10 inches from the frame—can help prevent these issues. If you notice drips forming, don’t panic. Let them dry for about 30 minutes, then sand the area smooth. Be sure to remove any sanding dust with a damp cloth before applying another coat.
Fixing Mistakes Without Starting Over
Mistakes happen, but you don’t always have to start from scratch. For minor errors, lightly sand the affected area and clean off any dust. Apply a thin layer of paint over the mistake, allowing it to dry thoroughly before adding more coats. If you encounter problems like bubbling or peeling, it might be due to applying paint too thickly or not allowing enough drying time between coats.
Preventing Paint from Chipping
To keep your frames looking fresh, focus on preventing chipping. A bonding primer can be a lifesaver, offering a solid base for the paint to adhere to. After the paint has dried, consider applying a clear sealant to protect the finish from everyday wear and tear. This extra step can extend the life of your newly painted frames significantly.
Taking the time to address these common issues can save you from frustration and help you achieve a professional-looking finish. Remember, patience and preparation are your best friends in any DIY project.
Maintaining the Look of Your Spray Painted Frames
Cleaning and Dusting Tips
Keeping your spray-painted frames looking fresh is all about regular maintenance. Dusting is key. Use a soft, lint-free cloth or a feather duster to gently remove dust. For deeper cleaning, a slightly damp cloth can be used, but make sure it’s not too wet. Avoid using harsh chemicals or abrasive cleaners as they might dull the paint finish. If your frames are in a high-traffic area, consider dusting them weekly to keep them looking their best.
Touch-Up Techniques for Longevity
Over time, even the best paint jobs can get a few nicks or scratches. For minor touch-ups, keep a small can of the original spray paint on hand. Lightly sand the area to be touched up with fine-grit sandpaper, clean off any dust, and apply a light coat of paint. This method keeps your frames looking new without the need for a full repaint. If you used a specific brand, like Rust-Oleum, ensure you have the same type for touch-ups to match the finish perfectly.
Protecting Frames from Sunlight and Moisture
Sunlight and moisture are two main culprits that can damage your spray-painted frames over time. To protect against these elements, consider placing your frames away from direct sunlight. UV rays can fade colors, especially vibrant ones. For moisture protection, particularly in humid areas, a clear sealant can be applied over the paint. This adds an extra layer of protection and can help in maintaining the color and finish of your frames for years. Remember, keeping frames away from damp areas will also help prevent warping and paint chipping.
Regular maintenance not only preserves the beauty of your spray-painted frames but also extends their life, making your DIY effort worthwhile.
Conclusion
So there you have it, folks! Spray painting picture frames is a super easy way to add a personal touch to your home decor. You don’t need to be a pro to get great results, just a bit of patience and creativity. Whether you’re updating old frames or giving new ones a unique twist, spray paint is your friend. Plus, it’s budget-friendly, which is always a win. Next time you’re looking to refresh a room, remember that a can of spray paint might just be your best tool. Happy crafting!
Frequently Asked Questions
Can I spray paint any type of picture frame?
Yes, you can spray paint frames made of wood, metal, or plastic. Just make sure they are clean and dry before you start.
Do I need to use primer before spray painting my frames?
Using primer is not always necessary, but it can help the paint stick better, especially on metal or glossy surfaces.
How do I prevent drips when spray painting?
To avoid drips, apply the spray paint in thin, even coats. Keep the spray can moving and don’t hold it too close to the frame.
What should I do if I make a mistake while painting?
If you make a mistake, let the paint dry completely, then sand the area lightly and repaint it.
How can I make sure the spray paint lasts a long time on my frames?
To make the paint last longer, apply a clear sealant over the dried paint. This will protect it from scratches and fading.
Is it safe to spray paint indoors?
It’s best to spray paint outside or in a well-ventilated area to avoid inhaling fumes. Always wear a mask for safety.