The moment you first picked up a guitar, you knew it would be a lifelong companion in your musical journey. That first strum, the first chord, the first riff—these unforgettable experiences forge a lasting bond with your instrument. As you continue to play, explore, and create, your guitar becomes more than just a tool; it reflects your personality and passion for music. However, as the years pass, your guitar may show signs of wear and tear, losing its luster and charm. A fresh coat of paint can work wonders, giving your guitar a new lease on life and a look that’s uniquely yours.
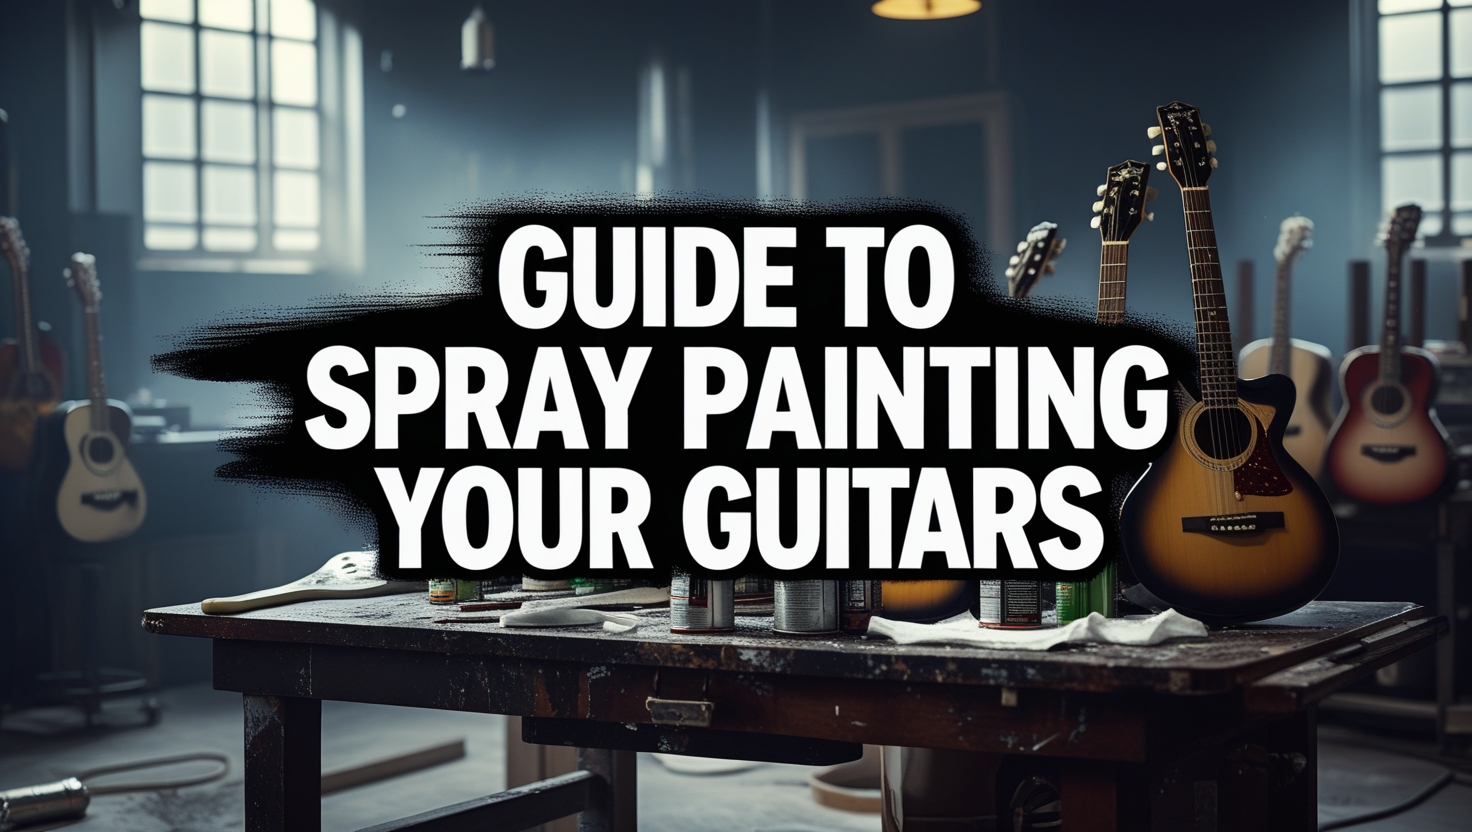
The Benefits of Spray Painting Your Guitar
Spray painting your guitar might seem like a radical move, but the results can be transformative. Here are some compelling benefits:
- Aesthetic Appeal: A newly painted guitar can elevate its visual appeal, making it a centerpiece during performances or jam sessions.
- Personal Expression: Your guitar is an extension of yourself. Customizing it with unique colors or designs allows you to showcase your personality.
- Increased Durability: A fresh finish provides an extra layer of protection against scratches, dings, and environmental factors. This can extend the life of your instrument significantly.
- Confidence Boost: Playing a guitar that reflects your style can enhance your confidence and inspire your musical creativity.
Before you grab that can of spray paint, let’s explore the key steps to ensure a successful transformation.
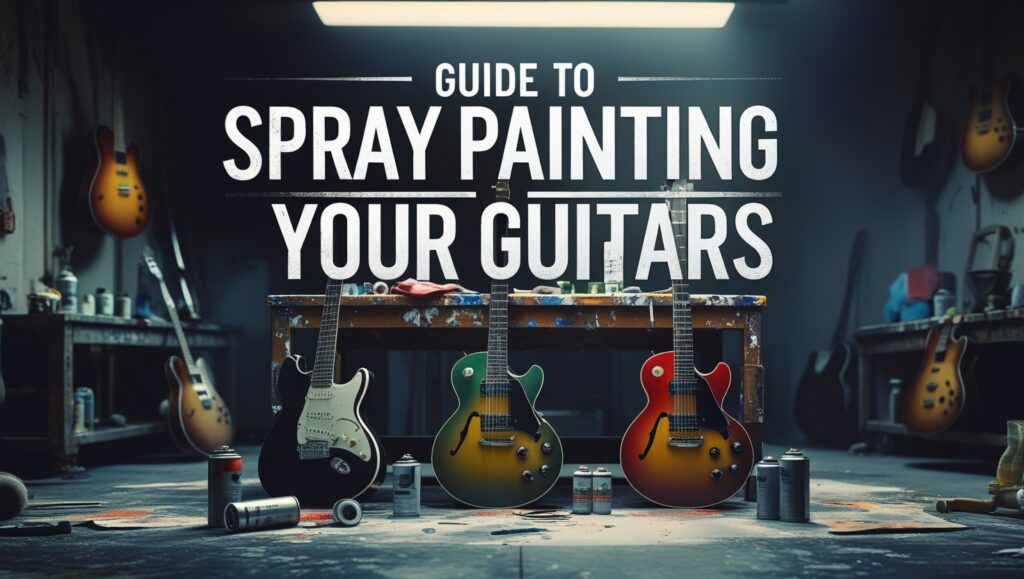
Strumming a New Look: Transforming Your Guitar with Spray Paint
Are you tired of your guitar’s look? A fresh coat of spray paint might be just what you need to give your instrument a whole new personality. Transforming your guitar with spray paint is not only fun but also a fantastic way to express your creativity. Here’s how to do it safely and effectively, creating a unique piece that will make you stand out on stage.
Choosing the Right Spray Paint
Before diving into the painting process, selecting the right spray paint is crucial. Not all paints are good for guitars. Look for:
- Acrylic Lacquer: Fast-drying and provides a durable finish.
- Spray Enamel: Offers a glossy look and is also durable.
- Water-Based Paint: Environmental-friendly and has low odor, making it easier to work with indoors.
Always ensure the paint is designed for wood surfaces to achieve the best results. Check reviews online, and consider asking fellow musicians or visiting local music stores for recommendations.
Preparing Your Guitar for a New Look
Preparation is key for a successful spray paint job. Follow these steps:
- Remove All Hardware: Take off strings, pickups, and any other attachments to avoid paint build-up.
- Clean the Surface: Use a soft cloth to wipe off dust and fingerprints.
- Sanding: Lightly sand the surface to help the paint adhere better.
- Masking Tape: Apply tape around areas you don’t want to paint, such as the fretboard and neck.
These steps will ensure a smoother surface, leading to a professional-looking finish.
Spray Painting Techniques
Now let’s get to the fun part! Here are some effective techniques to follow when spray painting your guitar:
- Use Even Strokes: Hold the can about 6 inches away from the surface. Spray with a steady hand using even strokes to avoid drips.
- Light Coats: Apply multiple thin coats rather than one thick coat. This helps avoid runs and ensures a smooth finish.
- Shake the Can: Shake it well before and during use to mix the paint for even application.
Let each coat dry completely before applying the next. This can take anywhere from 15 to 30 minutes depending on the paint used and the environment. Make sure to work in a well-ventilated area to avoid inhaling fumes.
Sealing the Deal
Once you’re satisfied with your new paint job, it’s important to seal it. Use a clear spray sealer designed for the type of paint you used. Here’s how to apply the sealer:
- Wait for the Paint to Cure: Allow your paint to cure for at least 24 hours.
- Apply the Sealer: Spray the sealer in light, even coats just like you did with the paint.
- Let It Dry: Follow the manufacturer’s instructions for drying time before handling your guitar.
This final layer protects your guitar against scratches and ensures your hard work lasts.
Caring for Your Newly Painted Guitar
Now that you have a beautifully painted guitar, it’s essential to care for it properly. Here are few tips to keep your guitar looking great:
- Avoid Direct Sunlight: Keep your guitar away from direct sunlight to prevent fading.
- Regular Cleaning: Wipe down the surface with a soft cloth after each use.
- Store Properly: Use a case or stand to protect it from bumps and scratches.
Transforming your guitar with spray paint not only revamps its look but also makes it uniquely yours. Follow these steps to achieve a stunning finish and play in style!
Essential Tools and Materials for Spray Painting Guitars
Upgrading the look of your guitar can be an exciting project, and spray painting is one of the most effective ways to achieve that fresh, custom finish. Before diving into the process, it’s crucial to gather all the essential tools and materials to ensure a smooth and successful spray painting experience. Below, you will find everything you need to get started on your journey to transforming your guitar.
Tools Required for Spray Painting
Having the right tools at hand will make your painting process more efficient and enjoyable. Here’s a list of necessary tools:
- Screwdrivers: You’ll need both flathead and Phillips screwdrivers to detach the hardware and components from your guitar.
- Sandpaper or Sanding Block: Use various grits (ranging from 220 to 600) to prepare the guitar’s surface for paint adhesion.
- Masking Tape: This is essential for covering areas you don’t want to paint, helping you achieve clean lines and a professional appearance.
- Paint Sprayer or Spray Cans: Choose a high-quality paint sprayer for precision, or opt for spray cans if you prefer simplicity and ease.
- Paint Stripper (if needed): If you wish to remove the old finish, a paint stripper might be necessary. Make sure it’s suitable for wood surfaces.
- Brushes and Rollers: While you’ll mainly be using spray paint, having brushes for touch-ups and rollers for any non-sprayed areas can be helpful.
Materials Needed for Spray Painting
The materials you choose can greatly affect the outcome of your project. Here are the key materials to consider:
- Primer: A good primer is vital for ensuring paint adherence. Choose a primer suitable for the type of wood your guitar is made of.
- Spray Paint: Look for high-quality, durable spray paint that is compatible with wood surfaces, preferably designed for a smooth finish.
- Clear Coat: After your paint has dried, a clear coat will help protect your guitar’s new look. Choose a matte or glossy finish based on your style preference.
- Thinner: In case you need to adjust the consistency of your paint or clean your sprayer, thinner is a necessary material to have.
- Rags and Paper Towels: These are useful for wiping surfaces and cleaning up any accidental spills.
- Drop Cloths: Protect your working area with drop cloths to catch any overspray or spills.
Safety Equipment
Before you start painting, don’t forget to prioritize your safety. Here’s what you need:
- Masking or N95 Respirator: Use a mask to protect yourself from inhaling fumes and toxins released during spray painting.
- Safety Goggles: Protect your eyes from overspray and debris.
- Gloves: Disposable gloves will keep your hands clean and safe from chemicals in the paint.
Setting Up Your Workspace
Creating a conducive workspace is critical to achieving the best results. Here are tips for setting up:
- Choose a Well-Ventilated Area: Always paint outside or in a room with plenty of airflow to avoid inhaling harmful fumes.
- Prepare the Surface: Clean the guitar thoroughly to remove any dust or grime. Sand the surface to create a smooth base for painting.
- Organize Your Tools and Materials: Keep everything within reach to streamline your work process.
The process of spray painting your guitar can be immensely rewarding, allowing you to express your creativity and personal style. By gathering the right tools, materials, and safety equipment, you’ll set yourself up for a successful painting experience. Ensure to work carefully, and don’t forget to let your guitar cure properly before reassembling the hardware and enjoying your newly painted instrument.
Step-by-Step Guide to Preparing Your Guitar for Painting
Spray painting your guitar can transform its look and make it uniquely yours. Before you start the creative process, it’s vital to prepare your instrument properly. This guide walks you through the step-by-step process of getting your guitar ready for painting.
Gather Your Materials
Before beginning, ensure you have everything you need:
- A clean workspace with ample ventilation
- Soft cloths for cleaning
- Screwdriver for removing parts
- Painter’s tape for masking
- Sandpaper (180 and 320 grit)
- Primer spray paint
- Topcoat spray paint
- Masks and gloves for safety
Remove Hardware
Your guitar’s hardware—such as strings, pickups, and knobs—needs to be taken off before painting. This helps prevent any damage and makes for a cleaner finish. Use a screwdriver to remove:
- Strings
- Pickups
- Knobs
- Bridge
Keep these pieces in a labeled container to avoid losing any parts.
Clean the Surface
Once the hardware is removed, clean the surface of your guitar. Use a soft cloth to wipe away dust, dirt, and oils. If your guitar has stubborn grime, dampen the cloth slightly. Ensure the surface is completely dry before moving to the next step.
Sand the Guitar
Sanding is crucial for paint adhesion. Start with 180-grit sandpaper to remove the gloss finish. Lightly sand the entire body, focusing on any uneven areas. Once complete, switch to 320-grit sandpaper for a finer finish, making the surface smooth. Wipe away any dust with a soft cloth.
Masking Off Areas
Use painter’s tape to cover parts of the guitar that you don’t want to paint. This includes:
- The neck
- Fretboard
- Pickguards
Applying tape helps achieve sharp lines and protects areas during the spray painting process.
Applying Primer
Priming is an essential step that helps the paint stick better and gives a uniform base. Choose a primer suitable for wood and spray it evenly over the guitar body from about 6-12 inches away. Keep the can in motion to avoid drips. Allow the primer to dry according to the manufacturer’s instructions.
Painting Your Guitar
Once your primer is dry, it’s time to apply your chosen topcoat paint. Shake the spray can well and begin with thin, light coats. This avoids paint runs and drips. Here’s how you can proceed:
- Start painting from the edge and move inward.
- Allow each coat to dry before applying the next.
- Check if you need additional coats for the desired color.
Typically, two to three coats are sufficient for a solid finish.
Finishing Touches
After the topcoat is dry, consider adding a clear coat for extra protection and a glossy finish. Follow the same spraying technique as before and let each coat dry evenly. Allow your guitar to cure for at least 24 hours before handling it.
Reassemble Your Guitar
Once your paint job is complete and your guitar has dried thoroughly, it’s time to reassemble everything. Carefully place the hardware back onto your guitar in the original order. Make sure to tighten all screws adequately without over-tightening them. Replace the strings once everything is back in place.
Final Check
Before you start playing, double-check your work. Ensure that all parts are secure and functioning correctly. Give your newly painted guitar a light polish to make it shine. Now you’re ready to strum and show off your newly painted instrument!
With these steps, preparing your guitar for spray painting can be a fun and rewarding process. Enjoy your custom-painted guitar and cherish the time you spent making it truly your own!
Choosing the Right Spray Paint for Your Guitar Finish
When it comes to giving your guitar a brand new look, the right spray paint can make all the difference. It’s essential to choose a paint that not only looks good but also protects and enhances your instrument. Here’s a detailed guide to help you navigate through the various options available, ensuring you make the best choice for your project.
Factors to Consider
Choosing the right spray paint for your guitar finish involves several factors. Keep the following points in mind:
- Type of Paint: Look for paint that is specifically designed for instruments, such as nitrocellulose or acrylic lacquer. These types provide a durable and attractive finish.
- Color Selection: Before buying, visualize the color you want. Test colors on a piece of scrap wood or an inconspicuous area of the guitar to see how they look in different lighting.
- Finish Type: Decide whether you want a glossy, matte, or satin finish. Glossy paints provide a shiny look, while matte offers a more muted appearance.
- Brand Reputation: Opt for reputable brands known for quality guitar paints. Brands like Krylon and Rust-Oleum have products specifically made for music instruments.
- Drying Time: Consider the drying time of the paint. Quick-drying paints allow for faster layering and can streamline your project.
Spray Paint Options
Let’s break down some popular types of spray paints you might consider:
- Acrylic Lacquer: This type of paint dries fast, gives a bright finish, and is very easy to work with. It’s a favorite among guitar enthusiasts for its ability to create a durable finish.
- Nitrocellulose Lacquer: Often favored by professionals, this paint provides a thin and light coating that enhances the natural resonance of the wood. However, it requires more skill to apply.
- Enamel Paint: This offers excellent durability but takes longer to dry and may require a longer curing process. It’s best for heavy-duty uses but can be a little tricky to apply evenly.
- Water-Based Paints: An excellent eco-friendly option, water-based spray paints offer low VOCs (volatile organic compounds). They’re easier to clean up and dry faster. However, the finish may not be as tough as solvent-based paints.
Application Techniques
Once you have chosen the perfect paint, applying it correctly can make a huge difference. Follow these tips for the best results:
- Preparation: Start by cleaning the guitar thoroughly. Remove any strings, hardware, and dust to allow for a smooth application. Sand the surface lightly if needed.
- Test Spray: Always perform a test spray on a cardboard piece to ensure the nozzle works and that you’re happy with the paint flow.
- Distance Matters: Hold the spray can about 6 to 12 inches away from the guitar. This distance helps create an even layer without drips or runs.
- Layering: Apply multiple thin coats instead of one thick coat. Allow each layer to dry completely before adding the next to prevent issues with bubbling or uneven texture.
- Clear Coat: After achieving the desired color, applying a clear coat can protect the paint job and enhance the shine. Choose a clear spray that complements your color choice.
Maintenance Tips
Once your guitar is beautifully painted, proper care will keep it looking fresh and vibrant:
- Avoid Excessive Moisture: Keep your guitar away from damp environments, as moisture can damage the finish.
- Use a Soft Cloth: Clean the surface with a soft, lint-free cloth to remove dust without scratching the paint.
- Store Properly: Ensure your guitar is stored in a protective case to keep it safe from accidental bumps and scrapes.
Spray painting your guitar can be an exhilarating way to express your creativity and bring a personal touch to your instrument. By selecting the right paint and following these techniques, you’ll transform your guitar into a stunning piece of art that stands out.
Tips for Maintaining Your Newly Painted Guitar Finish
Once you’ve transformed your guitar with a fresh spray paint job, it’s important to consider how to keep that new finish looking pristine. A well-maintained finish not only enhances your guitar’s appeal but also protects it from wear and tear. Here are some essential tips to help you maintain your newly painted guitar finish.
Handle with Care
One of the first steps in maintaining your guitar’s finish is to handle it gently. Whether you’re playing or moving it around, be aware of where your hands are. Here are some specific practices to follow:
- Always use both hands: Use one hand to support the neck and the other to hold the body.
- Avoid sudden movements: Quick shifts can cause accidental bumps and scratches.
- Store securely: Make sure your guitar is in a case or stand when not in use.
Regular Cleaning
Keeping your guitar clean is vital for maintaining its finish. Dust and dirt can build up and damage the paint over time. Here are ways to keep it clean:
- Use a soft, lint-free cloth: Gently wipe down the guitar after each use to remove fingerprints or dust.
- Choose appropriate cleaners: Use a guitar-specific cleaner, as regular household cleaners can harm the finish.
- Clean the fretboard: Don’t forget to clean the fretboard regularly with a dedicated fretboard conditioner.
Monitor Humidity and Temperature
Environmental factors can significantly affect the finish of your guitar. Consider these tips to keep your guitar in a stable environment:
- Keep away from extreme temperatures: Avoid leaving your guitar in hot cars or direct sunlight.
- Watch the humidity: Maintaining a humidity level between 40-60% will help prevent the wood from warping.
- Use a hygrometer: Consider using a hygrometer in your storage area to keep tabs on humidity levels.
Avoid Direct Sunlight
Prolonged exposure to sunlight can fade your guitar’s vibrant colors and even damage the finish. Try these strategies:
- Store in a shaded area: Ensure your guitar is stored in a place that avoids direct sunlight.
- Invest in a good case: A case can not only protect against accidental damage but also shield it from UV rays.
Protect with a Polish
Applying a polish specifically designed for guitars can add a protective layer to your newly painted finish. Here’s how to do it effectively:
- Choose the right polish: Use a polish that is safe for your specific type of finish.
- Practice moderation: A little polish goes a long way—avoid excessive application.
- Follow manufacturers’ instructions: Always read the instructions on your polish for best results.
Be Cautious with Accessories
When using accessories like straps or picks, consider their impact on your guitar’s finish:
- Use padded straps: Opt for straps with padding that won’t rub against the finish.
- Avoid sharp objects: Be mindful of using picks that could scratch the surface.
- Inspect often: Regularly check your accessories for wear and tear to prevent accidental damage.
Seek Professional Help When Needed
The final tip is to know when to seek help. If you notice significant wear or damage to your guitar’s finish, don’t hesitate to consult a professional. Here’s when to consider it:
- Deep scratches: If there are scratches that penetrate the finish, professional touch-up is advisable.
- Fading: If colors appear dull and faded beyond cleaning, it may be time for a refinish.
- Cracks: Address any cracks in the finish promptly to prevent further damage.
By following these straightforward tips, you can keep your newly painted guitar finish looking as good as new for years to come. A little care and attention will go a long way in maintaining its beauty and sound. Remember, your guitar is not just an instrument; it’s a reflection of your artistry and personal style.
Conclusion
Transforming your guitar’s appearance through spray painting is a fulfilling and creative endeavor. By embracing a new look, you can personalize your instrument and make it truly your own. Remember, the journey begins with understanding the essential tools and materials. Equipping yourself with the right items will set the foundation for a successful project.
Preparing your guitar is a crucial step that cannot be overlooked. Taking the time to clean and sand the body ensures that the paint adheres properly, resulting in a flawless finish. When selecting spray paint, pay attention to the type of finish you want. There are various options available, from glossy to matte, and the right choice can enhance the visual appeal of your instrument.
After applying your fresh coat of paint, maintenance plays a significant role in preserving that new look. Regular cleaning, avoiding exposure to harsh conditions, and applying protective coatings will keep your guitar looking vibrant for years.
Engaging in this creative process not only refreshes your instrument but can also spark newfound inspiration in your playing. As you strum along with your revitalized guitar, take pride in your hard work and personal expression. Your instrument is now a unique reflection of who you are as a musician. So, roll up your sleeves, unleash your creativity, and enjoy every moment of your spray painting adventure!