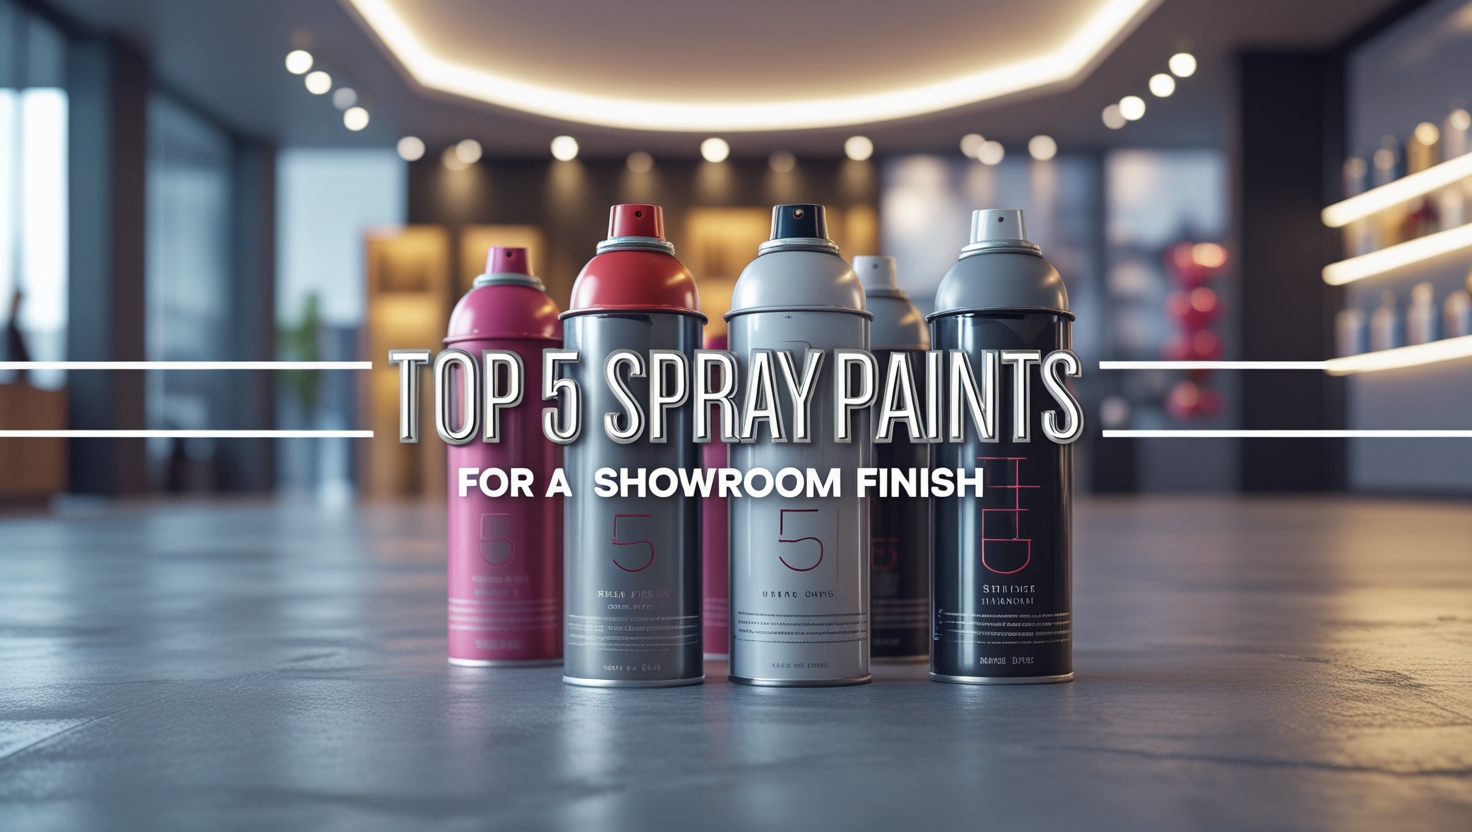
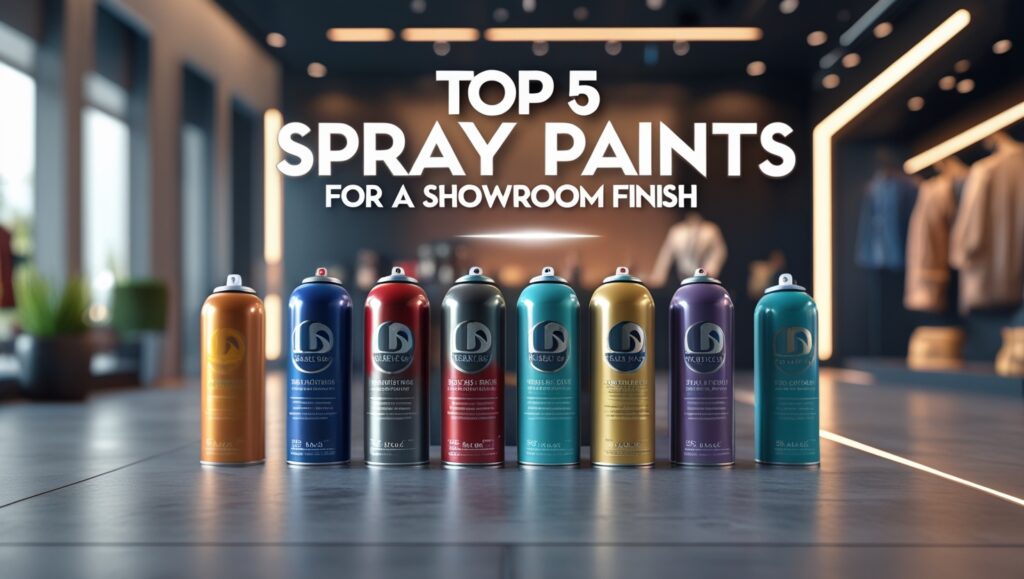
When it comes to revving up your ride, a showroom finish is the ultimate goal. A smooth, glossy, and durable paint job can make your vehicle stand out on the road and make you feel like a million bucks. But with so many spray paints on the market, it can be overwhelming to choose the right one. In this article, we’ll explore the top 5 spray paints for a showroom finish, helping you to achieve the glossy look you’ve always wanted.
For many car enthusiasts, a showroom finish is more than just a nice-to-have—it’s a must-have. A well-done paint job can increase the value of your vehicle, make it more attractive to potential buyers, and even boost your self-confidence behind the wheel. But with so many options available, it’s crucial to choose the right spray paint for the job.
The Science of Spray Paints
Before we dive into the top 5 spray paints, let’s explore the science behind them. Spray paints are a type of solvent-based or water-based paint that comes in a can, typically with a propellant gas that allows it to come out in a fine mist. This mist is what allows the paint to spread evenly and cover the surface of your vehicle.
The quality of the propellant gas, combined with the type and quality of the paint itself, can greatly affect the final result. Additionally, the film formation of the paint occurs as it dries and hardens to create a smooth, glossy surface. Environmental factors such as temperature and humidity can significantly impact this process; for optimal results, aim to spray when conditions are dry and temperatures are moderate.
By understanding the science behind spray paints, you can better choose the right one for your specific needs.
The Top 5 Spray Paints for a Showroom Finish
Are you ready to give your ride that stunning showroom finish? Whether you’re sprucing up an old vehicle or customizing a new one, the right spray paint can make all the difference. Selecting the best spray paint involves knowing which products will deliver that high-gloss look while standing up to the elements. Here’s a list of the top spray paints that can rev up your ride.
1. Rust-Oleum Automotive Spray Paint
When it comes to durability and a rich finish, Rust-Oleum Automotive Spray Paint stands out. This paint is designed specifically for vehicles, offering excellent adhesion and protection against rust, fading, and chipping. With a wide range of colors and finishes, you can achieve everything from a glossy sheen to a matte look.
Key Features:
- Fast-drying formula
- Resistant to chemicals and solvents
- Easy to apply with a smooth finish
2. Dupli-Color Perfect Match Automotive Spray Paint
If you are looking for precision, Dupli-Color Perfect Match Automotive Spray Paint is an excellent choice. This brand offers an extensive palette of OEM (Original Equipment Manufacturer) colors, ensuring your paint job matches perfectly. It is specially engineered for a durable finish and is an ideal option for touch-ups.
Key Features:
- Excellent color matching
- Easy to use with a comfortable spray nozzle
- Perfect for small repairs or complete projects
3. VHT High Temperature Spray Paint
If your project involves areas that face heat, like engine components, VHT High Temperature Spray Paint is the way to go. This paint can withstand extreme temperatures and still maintain its beautiful finish. It’s perfect for not only engine parts but also for customizing your ride’s interior.
Key Features:
- Resistant to heat of up to 2000°F
- Available in a range of colors, including high-gloss
- Durable and resistant to rust and corrosion
4. Plasti Dip Spray Coating
If you want versatility, Plasti Dip Spray Coating offers a unique, removable finish. This product allows you to change the color of your vehicle without permanent commitment. You can easily peel it off if you decide to go back to the original color, making it a fantastic option for those wanting to experiment.
Key Features:
- Provides a protective coating from scratches and chips
- Non-slip finish
- Wide range of colors and finishes available
5. Krylon Automotive Paint
Krylon Automotive Paint brings both durability and ease of use to the table. It offers a smooth application and a fast-drying formula which helps speed up your projects. This paint is ideal for those looking for a reliable option that won’t let you down.
Key Features:
- Dries to the touch in 30 minutes
- Excellent adhesion on multiple surfaces
- Available in various colors and finish options
When choosing the right spray paint for your vehicle, consider these important tips:
- Preparation is Key: Always clean and prep the surface to ensure optimal adhesion.
- Temperature Matters: Apply paint in cool, dry conditions for the best results.
- Layer with Care: Apply several thin layers rather than one thick layer.
Revving up your ride with a stunning showroom finish is possible with the right spray paint. Each brand mentioned offers unique benefits, catering to various needs and preferences. Follow the tips laid out, and you’ll be on your way to a beautiful vehicle that turns heads on the road!
Essential Preparation Steps for a Flawless Paint Job
When it comes to achieving that flawless paint job you’ve always wanted for your vehicle or furniture, preparation is key. Spend some time getting ready, and you’ll see a glossy, showroom-quality finish. Here are essential steps to prepare effectively.
Gather Your Tools and Materials
Before you begin, ensure that you have all the necessary tools and materials at hand. This will save you time and prevent interruptions during the project. Here’s a helpful checklist:
- Sandpaper (various grits)
- Masking tape
- Drop cloths or plastic sheets
- Paint (choose high-quality spray paint for the best results)
- Primer
- Paint sprayer or rollers (if necessary)
- Face mask and goggles
- Paint stirrer
- Clean rags
- Bucket for mixing
Choose the Right Location
Finding the perfect spot to paint can significantly impact your results. Ideally, you want a dry, warm, and well-ventilated area. Avoid direct sunlight, which can cause the paint to dry too quickly and lead to imperfections. A garage or covered patio is often ideal.
Clean the Surface Thoroughly
Cleaning the surface is crucial for a flawless paint job. Dirt, grease, and old paint can lead to poor adhesion and chipped paint down the line. Here’s how to prepare the surface:
- Wash: Use soap and water to scrub the surface. Rinse well and allow it to dry completely.
- Dust and Debris: Wipe down the surface with a clean rag to eliminate any dust or residues.
- Remove Prior Coatings: If you’re painting over old paint, use a paint stripper to remove it. Sanding the surface can also help.
Sand the Surface
Once your surface is clean, it’s time to sand it down. Sanding creates a rough texture that allows the new paint to adhere better. Here’s how to do it effectively:
- Use medium-grit sandpaper for initial sanding.
- Follow up with fine-grit sandpaper for a smoother finish.
- Always sand in the direction of the grain to avoid scratches.
- After sanding, clean away any dust with a damp rag.
Repair Any Imperfections
Patching up dents, scratches, or holes can make a world of difference in the final look of your paint job. Use body filler or wood filler (depending on your surface) to even out imperfections. Make sure to:
- Allow filler to dry completely before sanding it smooth.
- Sand the filled area to match the surrounding surface.
Mask Off Surrounding Areas
To ensure clean lines and avoid unwanted paint splatters, masking off areas is essential. Use high-quality masking tape and plastic sheets to cover:
- Nearby furniture or vehicles.
- Baseboards, trim, and edges where two colors meet.
- Windows and any other surfaces that should not be painted.
Apply Primer
Primer acts as the foundation for your paint job, providing an extra layer of adhesion and enhancing the color’s vibrancy. Choose a primer that suits your paint type—water-based or oil-based. When applying:
- Follow the manufacturer’s instructions for best results.
- Allow primer to dry completely before proceeding with paint.
Final Considerations
Ensure you’re set for the painting process. Wear your protective gear, keep the area well-ventilated, and check that the temperature is optimal for painting. Approaching each of these preparation steps carefully will lead you to a professional-looking finish that you’ll be proud of!
Remember, the time you spend in preparation is crucial. By following these essential steps, you set the stage for a stunning paint job that stands the test of time.
Techniques for Applying Spray Paint Like a Pro
Getting that perfect finish with spray paint can seem challenging, but with the right techniques, you can achieve professional results. Here are some techniques to help you apply spray paint like a pro and transform your projects into stunning displays.
Preparation is Key
Before you start spraying, take the time to prepare your surface. A smooth, clean area will ensure the paint adheres properly. Follow these steps:
- Clean the Surface: Wash the object to remove any dirt or grease. For metal or wood, sand the surface lightly to enhance adhesion.
- Remove Dust and Debris: Wipe the surface with a damp cloth to eliminate dust. Dust particles can mar the finish, resulting in a less-than-professional look.
- Use Primer: If you’re painting a porous surface like wood or if the surface is metal, a primer can help the paint stick and improve the overall finish.
Select the Right Spray Paint
Choosing the correct type of spray paint is essential for achieving the best results. Here are a few factors to consider:
- Type of Material: Ensure you pick spray paint that is designed for the material you are working with—like plastic, metal, or wood.
- Finish Quality: Decide on the finish—glossy, matte, or satin—based on your desired look. Glossy finishes often look more vibrant but can show imperfections more easily.
- Color Selection: Test the color in a small area or on a piece of scrap material to ensure it matches your vision.
Mastering the Spray Technique
Once your preparation and paint selection are complete, it’s time to master the actual application process. Here’s how you can get that smooth finish:
- Shake the Can: Shake your spray paint can vigorously for about 1-2 minutes. This ensures that the paint is mixed evenly for consistent spraying.
- Keep a Consistent Distance: Hold the can about 6 to 12 inches away from the surface. This distance can vary depending on the paint type, so read the instructions on the can for guidance.
- Use Even Strokes: Spray in a steady, even motion, overlapping each pass by about 50%. This way, you avoid drips and achieve an even coverage.
- Start Outside: Begin your spray stroke off the object and finish off the other side. This technique prevents heavy spots at the beginning and end of your strokes.
Layering for Optimal Results
For many projects, especially those requiring a deep color or a glossy finish, multiple light coats of paint are more effective than one heavy coat. Follow these tips:
- Allow for Drying Time: After each coat, allow for adequate drying time as specified on the paint can. Patience here will give you a much better final result.
- Inspect Between Coats: Check for imperfections after each layer. Touch them up before applying the next coat to prevent them from getting worse.
- Final Coat: For the last layer, an ultra-thin layer can give a flawless finish. Don’t be tempted to load on more paint!
Post-Application Care
Once you’ve achieved that showroom-quality finish, it’s crucial to take care of your painted project:
- Allow Full Cure Time: Let the paint cure for the time recommended by the manufacturer. This helps strengthen the paint’s adhesion.
- Avoid Scratches: Handle the item with care until it’s fully cured to avoid scratches and imperfections.
- Consider a Clear Coat: Adding a clear sealer can enhance durability and offer additional protection against wear and tear.
By following these techniques, you’ll not only rev up your ride but also ensure that any surface you spray paint looks professional and polished. With practice and attention to detail, you can create beautiful finishes that stand out and last.
How to Maintain Your Newly Painted Surface
Keeping a newly painted surface in pristine condition is crucial for maintaining its appearance and longevity. Whether you’ve just refreshed your car’s look, updated your furniture, or transformed a room, proper maintenance is essential to ensure that your hard work and investment pay off. Here are some effective tips to help you maintain that showroom finish.
Understand the Type of Paint Used
What’s your surface painted with? Knowing the type of paint can inform how you care for it. For instance:
- Acrylic Paint: This type of paint is water-based and dries quickly. It’s durable, but you should avoid harsh cleaners that can strip the finish.
- Enamel Paint: Enamel can withstand wear and tear but requires specific cleaning products to avoid dulling its shine.
- Chalk Paint: Often used for furniture, chalk paint gives a matte finish and will need regular waxing to maintain its look.
Regular Cleaning
Keeping your painted surface clean is one of the simplest yet most effective ways to maintain its finish. Here’s how to do it:
- Dust Regularly: Use a soft microfiber cloth to wipe away dust and debris. This prevents the buildup of dirt that can damage the paint over time.
- Gentle Cleaning: For deeper cleaning, use a mixture of warm water and mild soap. Avoid abrasive sponges as they can scratch the surface.
- Rinse and Dry: Always rinse with clean water and dry the surface well to prevent water spots from forming.
Protecting the Surface
Protection is vital for preserving the life of your newly painted surface. Here are several strategies to consider:
- Use a Clear Coat: For surfaces exposed to the elements or heavy use, applying a clear coat as a sealant can provide an extra layer of protection.
- Avoid Direct Sunlight: Prolonged exposure to sunlight can fade and damage paint. Use curtains, blinds, or outdoor covers whenever possible.
- Prevent Scratching: Use felt pads under furniture legs and avoid dragging items across painted surfaces to minimize scratches.
Addressing Damage Promptly
Even with the best care, accidents happen. If you notice chips, scratches, or stains on your painted surface, address them right away. Here’s what you can do:
- Touch Up Paint: Keep leftover paint for touch-ups. This can easily be applied with a small brush to restore the original finish.
- Repair Scratches: For minor scratches, a little wax or polish may be enough to blend them into the surrounding area.
- Deep Clean Stains: For difficult stains, a specialized cleaner designed for the paint type can help restore its beauty.
Seasonal Maintenance Checks
Conducting seasonal maintenance checks can keep your painted surfaces looking their best. Consider the following:
- Inspect for Peeling: Check for any signs of peeling or bubbling paint, which may require sanding and repainting.
- Check for Fading: Notice if the colors are fading over time. If so, a recoat may be necessary to bring back the vibrancy.
- Evaluate Environmental Impact: If your environment is harsh (e.g., too humid or dry), take extra precautions to maintain paint integrity.
Maintaining your newly painted surface doesn’t have to be a chore. By following these simple steps, you can preserve your paint’s pristine appearance for years to come. Remember, the key to success lies in understanding the type of paint, regularly cleaning, protecting the surface, addressing damage promptly, and conducting seasonal checks. With a little attention and care, your surfaces will continue to look as good as new!
Common Mistakes to Avoid When Using Spray Paint
Using spray paint can be a fun and rewarding project, whether you are updating furniture, refreshing a room, or customizing your vehicle. However, impatience or lack of knowledge can lead to common mistakes that ruin your final results. To help you achieve that perfect finish, here are some pitfalls to avoid.
Not Preparing the Surface
One of the biggest mistakes you can make is failing to properly prepare the surface you plan to paint. If the surface has dirt, grease, or old paint, the new coat will not adhere well. Always start by cleaning the area thoroughly. Use soap and water for general cleaning, and consider using a wire brush or sandpaper to remove any old paint.
Steps for Proper Surface Preparation:
- Wash with soap and water to remove dirt and grime.
- Sand rough areas to create a smooth surface for painting.
- Apply a primer if necessary, especially for porous or glossy surfaces.
Using the Wrong Type of Spray Paint
Selecting the incorrect spray paint for your project can lead to disappointing outcomes. Different surfaces and purposes require specific types of spray paint. For instance, using interior paint on outdoor items can cause them to chip and fade quickly.
Types of Spray Paint:
- General Purpose: Ideal for crafts and light-duty projects.
- Automotive: Formulated for vehicles and outdoor durability.
- Specialty Paints: Such as metallic or chalk spray, for specific finishes.
Skipping the Primer
Many people overlook the importance of primer, thinking it is unnecessary. Primer creates a good bond between the surface and the paint, ensuring better adhesion and a more even finish. Skipping this step can result in peeling and uneven coverage.
Benefits of Using Primer:
- Improves paint adhesion.
- Enhances color accuracy.
- Increases durability and longevity of the finish.
Holding the Can Too Close
Another common mistake is holding the spray paint can too close to the surface. This can lead to drips and an uneven finish. It’s important to keep the can at least 6 to 12 inches away from the surface to ensure an even coat.
Tips for Proper Distance:
- Start spraying off the edge of your project.
- Move your wrist, not just your arm, to achieve a smooth motion.
- Practice on a scrap piece before starting your main project.
Rushing the Job
Patience is key when using spray paint. Rushing can lead to several mistakes, including applying too thick of a coat or trying to handle items before they are fully dry. Always follow the manufacturer’s instructions regarding dry times between coats.
Best Practices for Timing:
- Wait for the recommended time between coats.
- Consider using a fan or direct sunlight for faster drying.
- Don’t rush the entire process; take time to evaluate each coat.
Ignoring the Weather Conditions
Weather can dramatically affect the quality of your spray painting project. Wind, humidity, and temperature all play crucial roles in drying time and paint adhesion. Try to pick a day that has mild weather to ensure the best results.
Weather Considerations:
- Avoid painting on windy days to prevent overspray.
- Humidity can cause the paint to bubble or not adhere properly.
- Cool temperatures can slow drying time significantly.
By avoiding these common spray painting mistakes, you can enhance your chances of achieving a professional, showroom-like finish. Pay proper attention to preparation, surface selection, and weather conditions, and you’ll be on your way to creating stunning results that you can be proud of.
Conclusion
Achieving a showroom finish for your vehicle is entirely within your reach when you incorporate the right spray paint and techniques. Choosing the best spray paint is paramount to ensuring that the final product not only looks good but also stands the test of time. By focusing on essential preparation steps, you create a solid foundation for the paint job. Remember that thorough cleaning and the right primer can make all the difference in achieving that professional touch.
Techniques for applying spray paint like a pro don’t just elevate your finish—they also help you avoid the common pitfalls many encounter. Mastering the proper distance, angle, and layering will lead to a smoother application and a more visually appealing result. Once you’ve transformed your ride, maintaining that glossy new look is essential. Regular cleaning and protective coatings will keep your paintwork shining and shield it against environmental elements.
Avoiding common mistakes is equally important. Taking your time with the process, from preparation to finishing touches, ensures a result you can be proud of. Rushing can lead to drips, runs, and uneven application—issues that can detract from your vehicle’s appearance. By following these guidelines, you not only enhance your ride but also enjoy the satisfaction that comes with doing it yourself. Remember, a well-painted vehicle is not just an aesthetic improvement; it’s a reflection of your commitment to quality and care. Rev up your ride and let your creativity shine!